
This guide walks you through connecting your Google accounts to N8N by setting up OAuth credentials in Google Cloud Console. It covers enabling the required Google APIs, configuring an OAuth consent screen, and linking each Google service to your N8N workspace.
Prerequisites
- An active N8N account with access to the Credentials section
- A Google account (personal or Google Workspace)
- A Google Cloud account — if you don't have one, you'll be guided through creating one during the process. You'll need a credit card to set up a billing account, but no charges will be made
- A secure place to save credentials, such as LastPass or another password manager
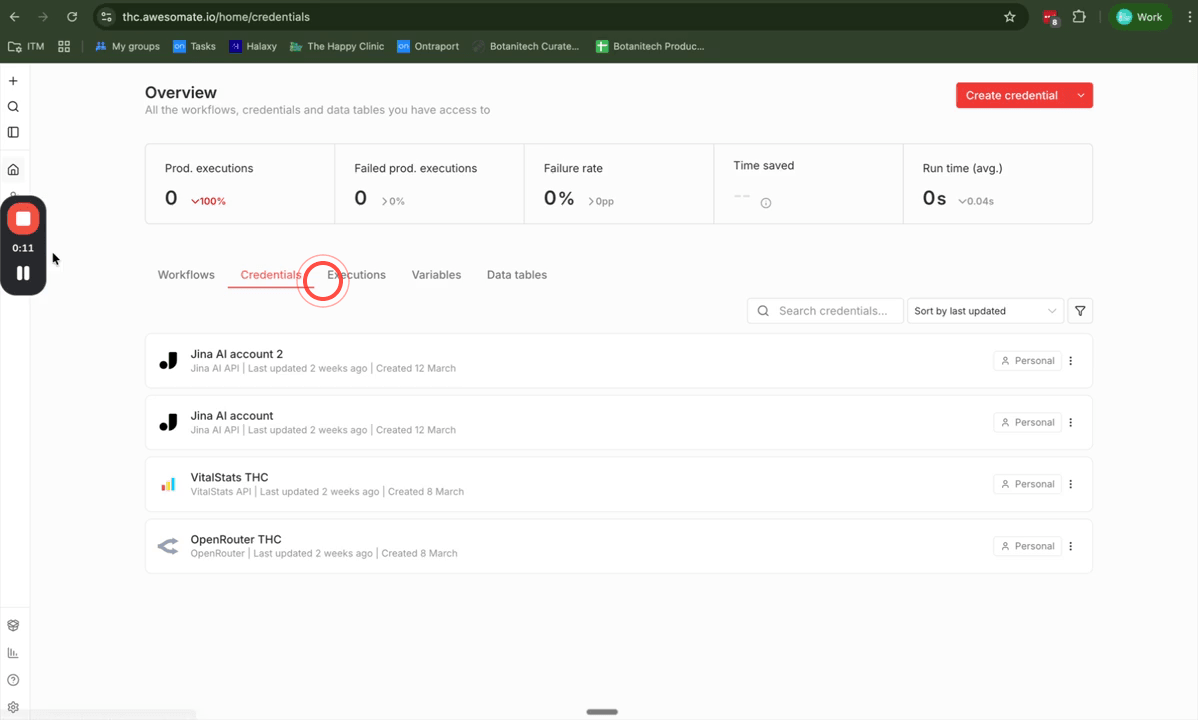
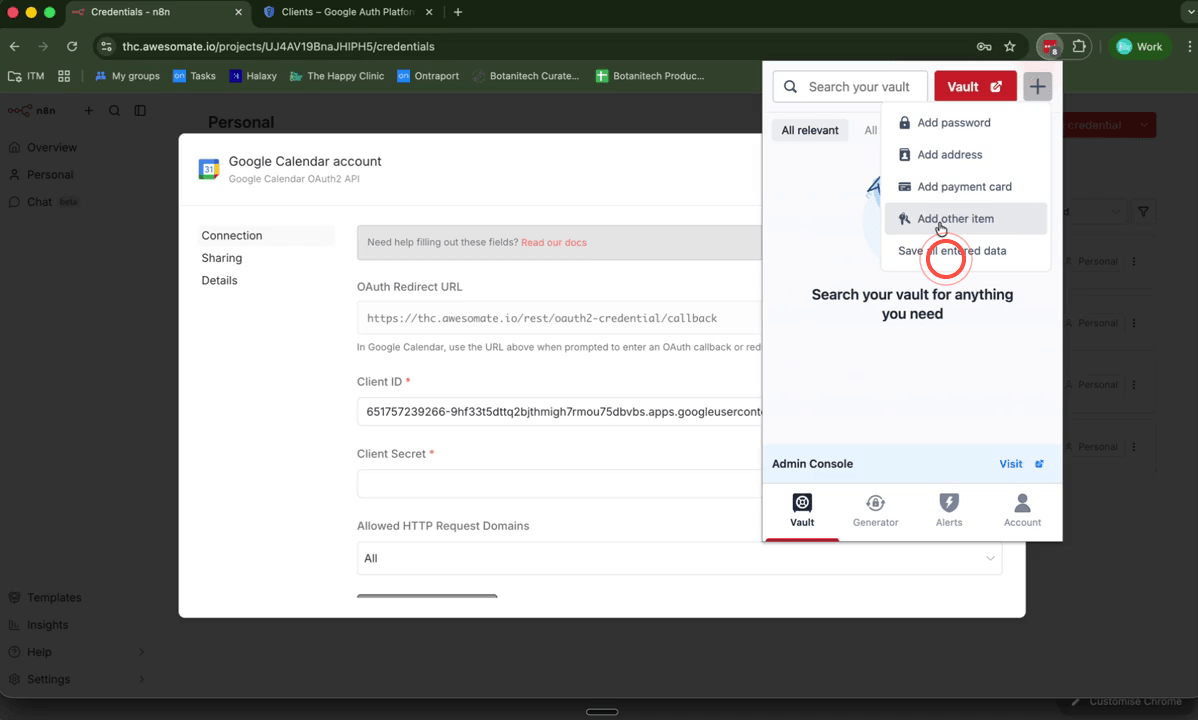
Step 1: Open the Credentials Section in N8N
Log in to your N8N account and navigate to the Credentials section. If you're not sure where to find it, click the N8N logo in the sidebar to return to the homepage — from there you can either click Credentials if it's visible, or click the plus (+) button and select Credential from the menu that appears.
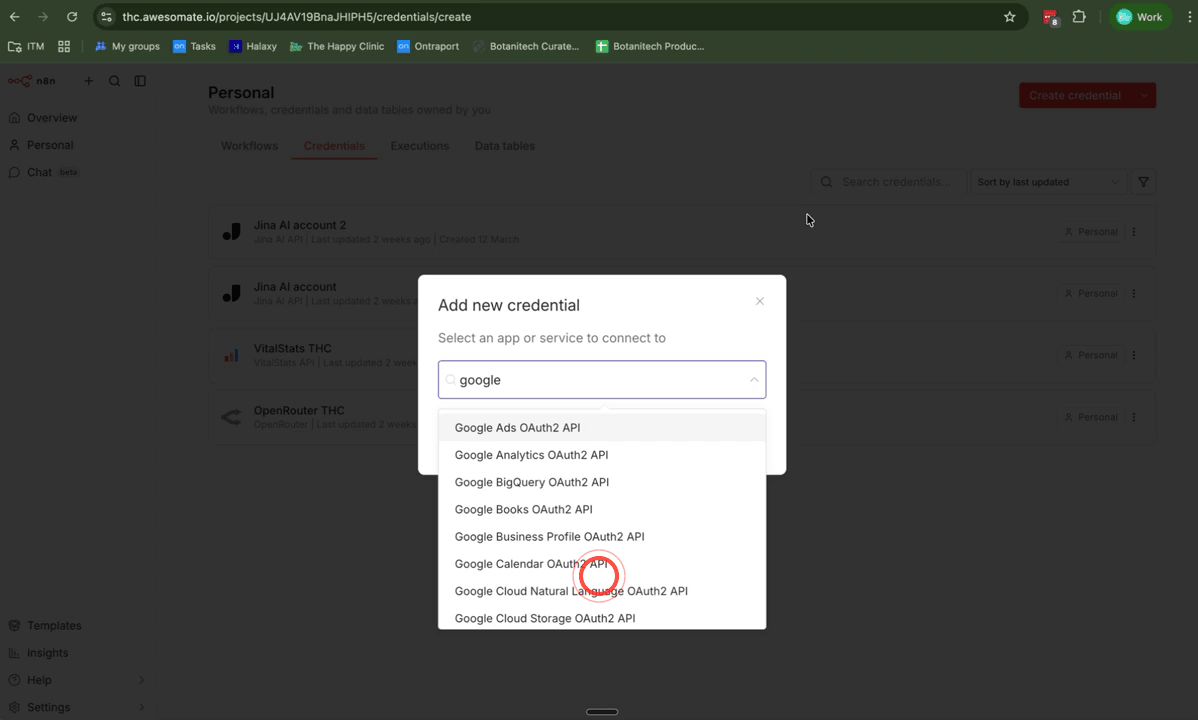
Step 2: Create a New Google Calendar Credential
Click Create Credential to open the credential type selector. Type Google in the search box, then scroll down and select Google Calendar from the list. Click Continue to proceed to the credential configuration screen.
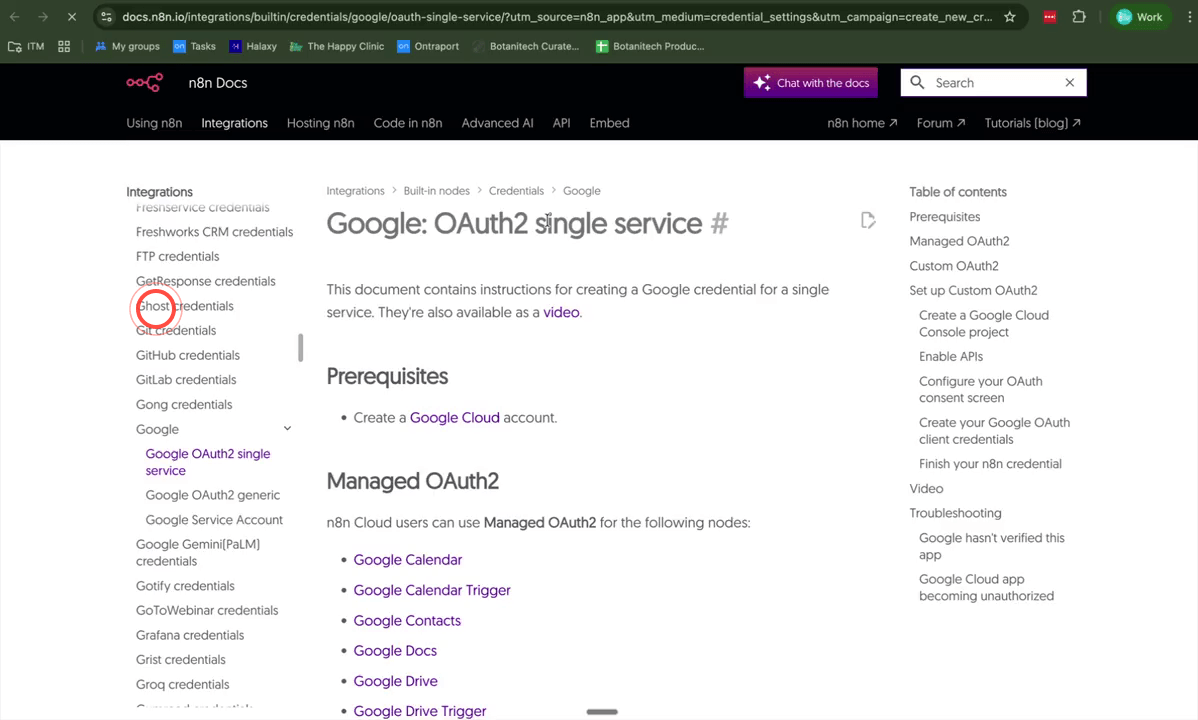
Step 3: Open the N8N Documentation for Google Credentials
On the Google Calendar credential screen, locate and click the Read Our Docs link. This will open N8N's official step-by-step guide for setting up Google OAuth credentials in a new browser tab. Keep this tab open alongside your work as a helpful reference throughout the process.
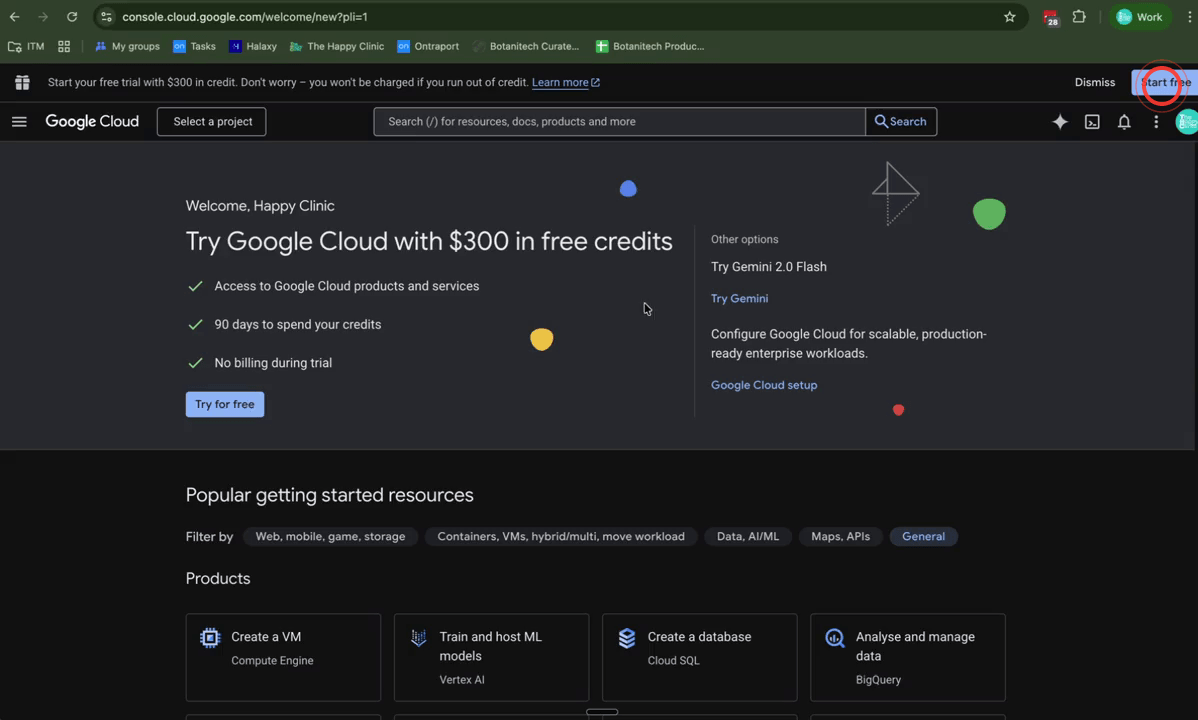
Step 4: Sign In to Google Cloud Console
Click the Google Cloud Console link provided in the N8N documentation. If prompted, sign in with your Google account. If you're a new Google Cloud user, click I Agree and then Continue, followed by Try for Free. You'll be asked to add a credit or debit card to set up a billing account — this is required to use Google Cloud, but you will not be charged. Follow the prompts to complete the account setup before continuing.
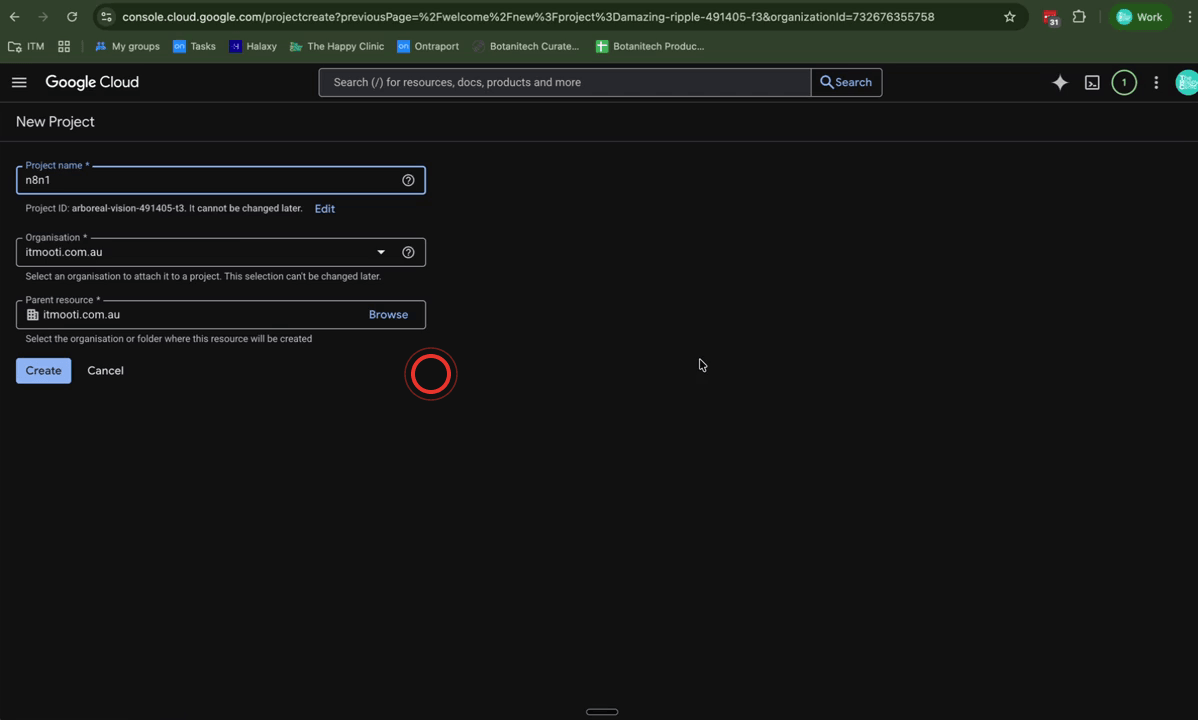
Step 5: Create a New Google Cloud Project
Once inside Google Cloud Console, click New Project. Give your project a name — for example, N8N1 — and select your organisation if one is available. Click Create to generate the project. Once it has been created, click the project dropdown at the top of the console and select your new project to make it active.
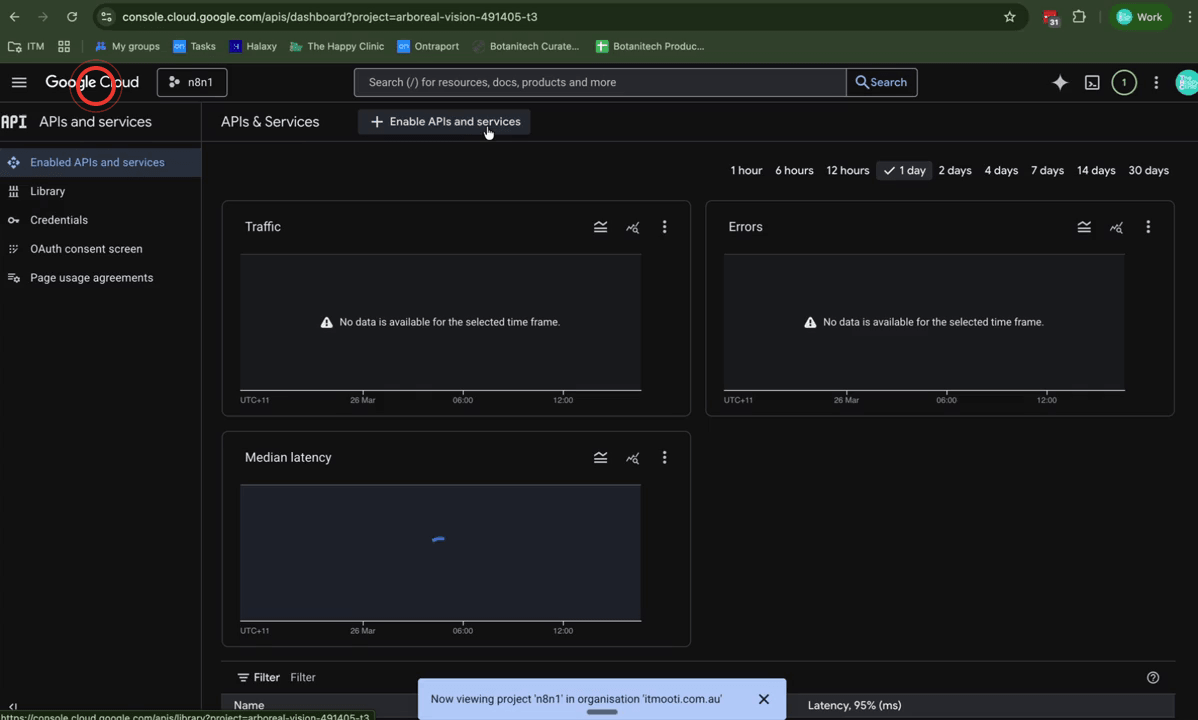
Step 6: Navigate to APIs and Services
With your new project selected, locate APIs and Services in the left-hand navigation menu and click Enabled APIs and Services. On the page that opens, click the Enable APIs and Services button at the top. This takes you to the API library where you can search for and enable individual Google APIs.
Step 7: Open All Required Google APIs in New Tabs
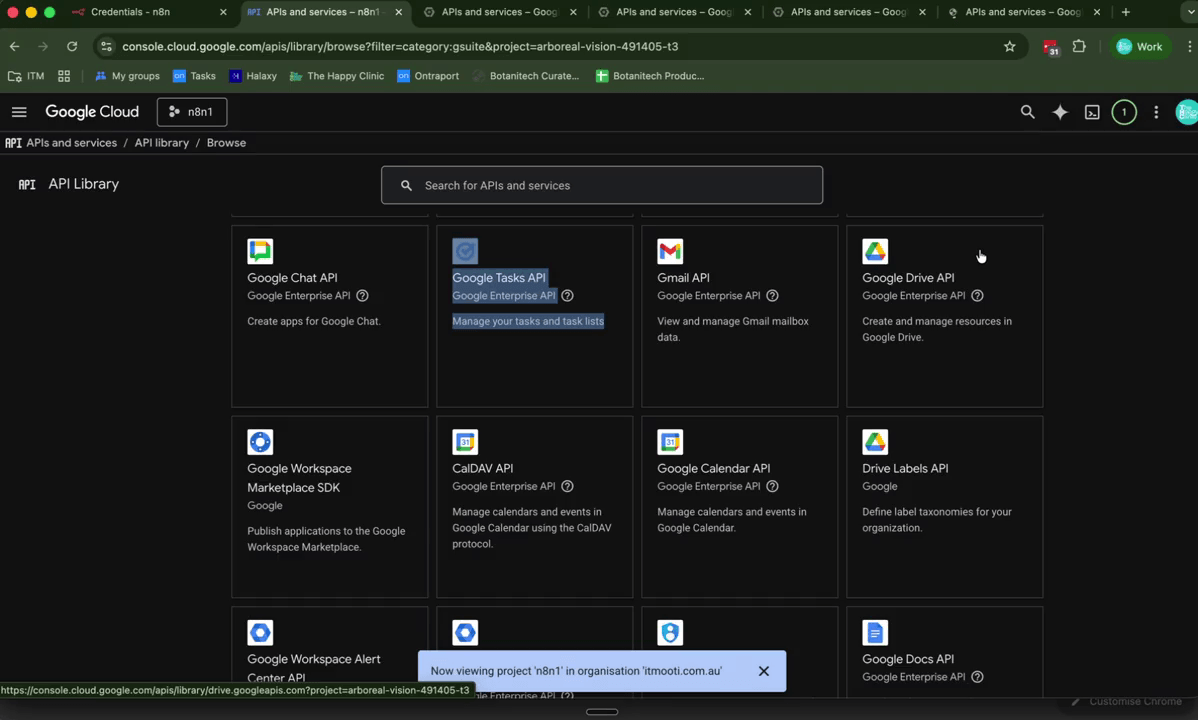
In the API library, scroll down to the Google Workspace row and click View All. You'll now need to open each of the following APIs in a separate browser tab — on a Mac, hold Command and click each one; on Windows, right-click and select Open in new tab. Open all of the following:
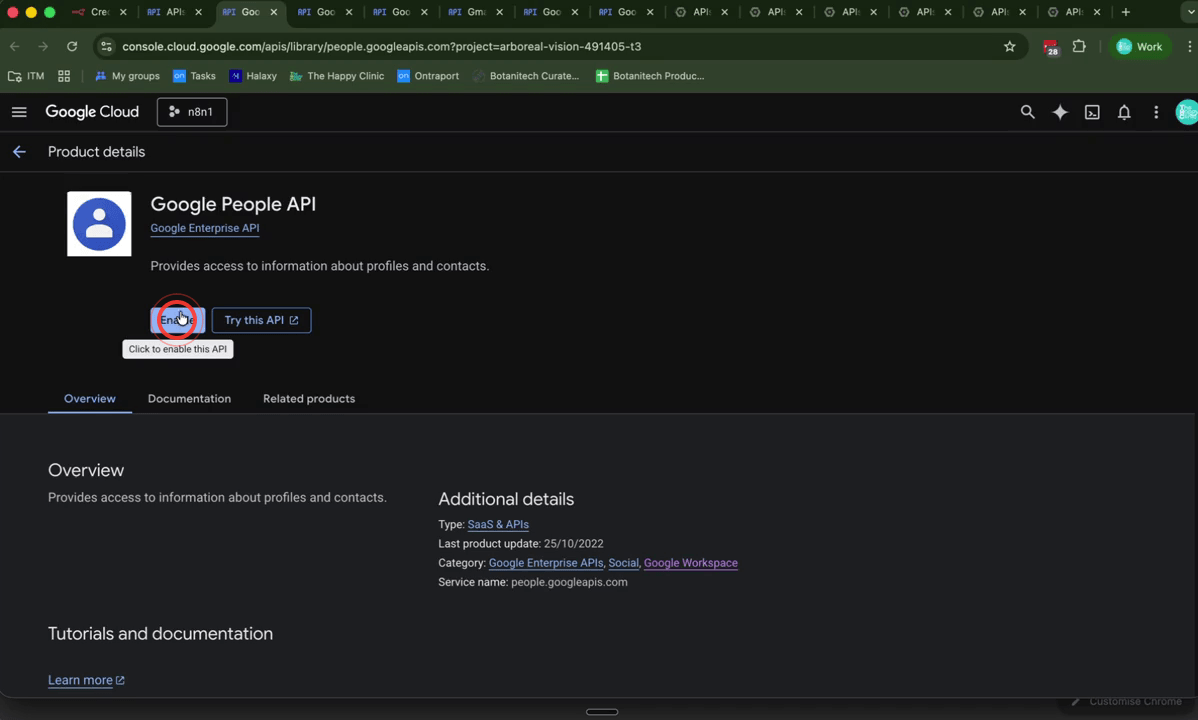
- Google People API
- Google Chat
- Google Tasks
- Gmail
- Google Drive
- Google Calendar
- Google Docs
- Google Sheets
- Google Meet
- Google Forms
- Google Keep
- Google Slides
Each tab will load in the background — you'll see them appear one by one as they open.
Step 8: Enable Each Google API
Switch to each of the open API tabs one at a time and click the Enable button on each page. Work through all the tabs until every API has been enabled. This activates each API within your Google Cloud project, allowing N8N to authenticate against all of these Google services. Once you've enabled them all, you can close those tabs.
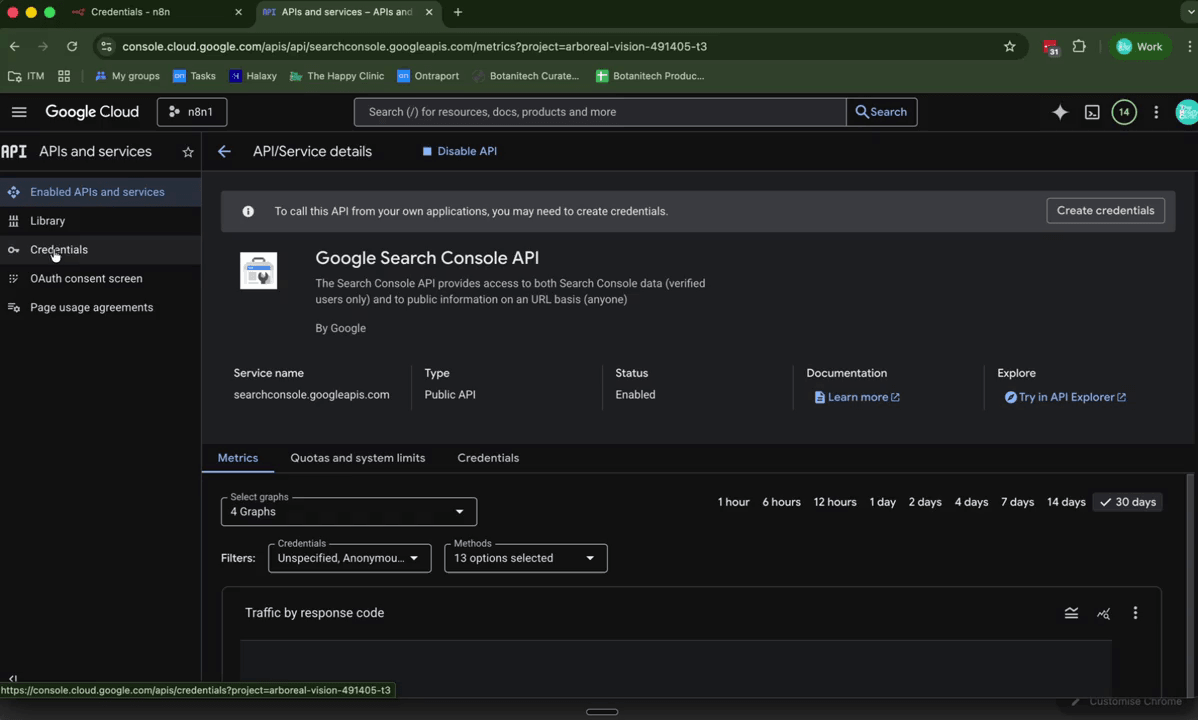
Step 9: Enable the Google Search Console API
Return to the APIs and Services library in Google Cloud Console. Use the search bar to find Google Search Console API and click on it. Click Enable to activate it. This API is particularly useful if you want AI-powered workflows to query your website's search performance data from Google Search Console.
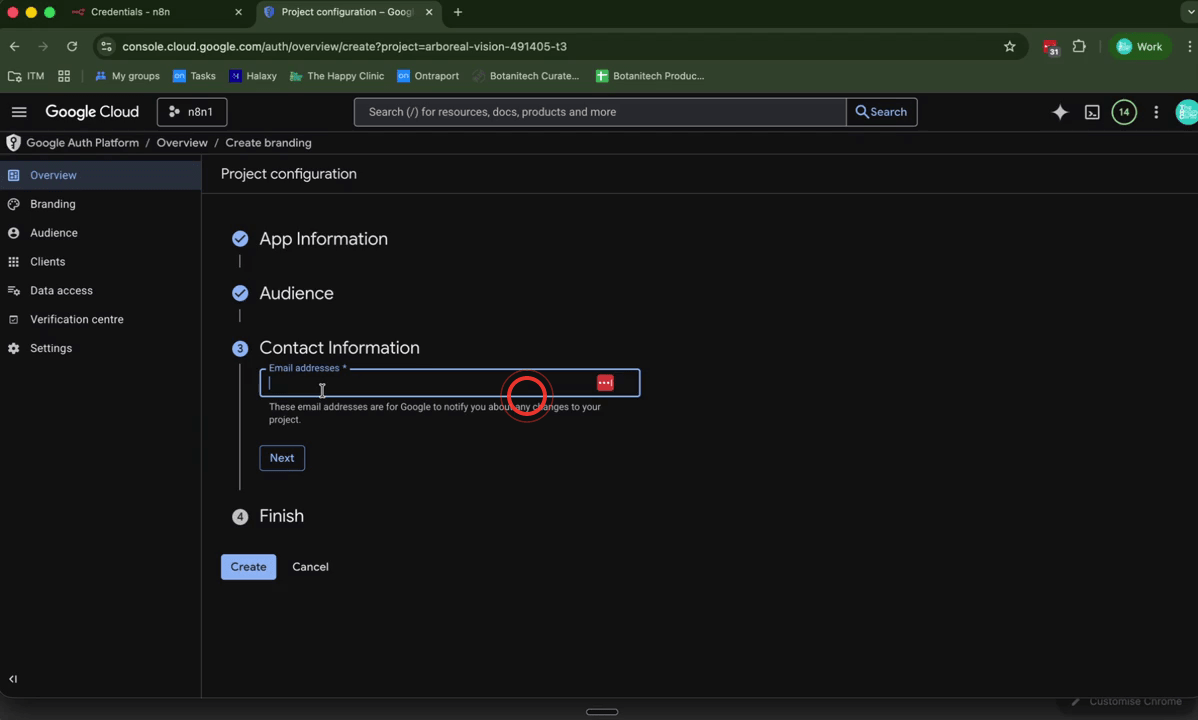
Step 10: Configure the OAuth Consent Screen
In the left-hand menu, click OAuth Consent Screen. If you don't see it, navigate back to APIs and Services and select it from there. Click Get Started, then enter an app name (e.g. N8N1) and choose your support email address. Set the Audience to Internal, then click through the remaining steps — clicking Next, agreeing to the terms, and clicking Continue to complete the consent screen setup.
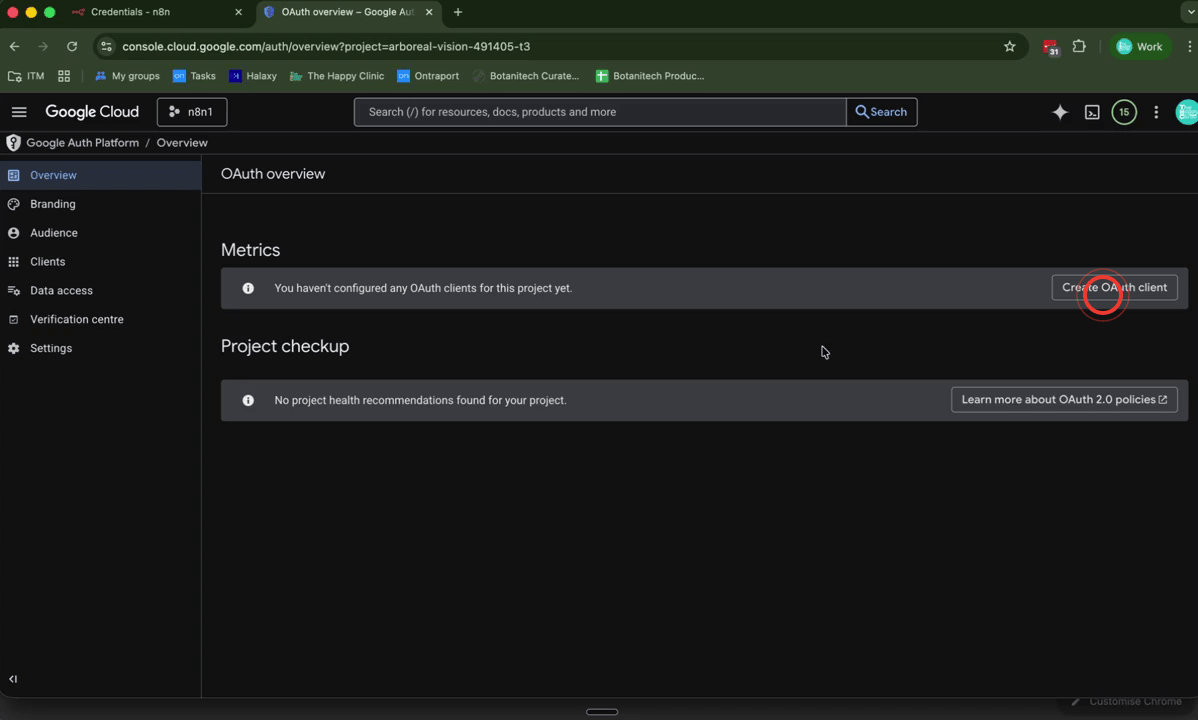
Step 11: Create OAuth 2.0 Client Credentials
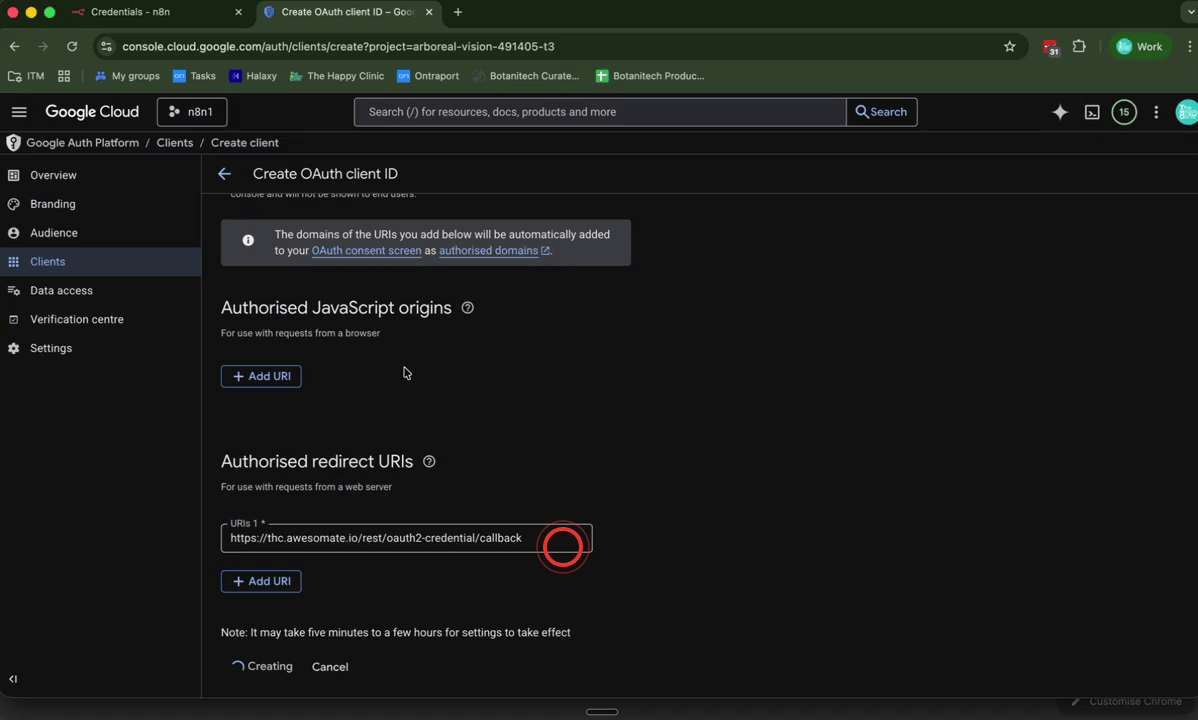
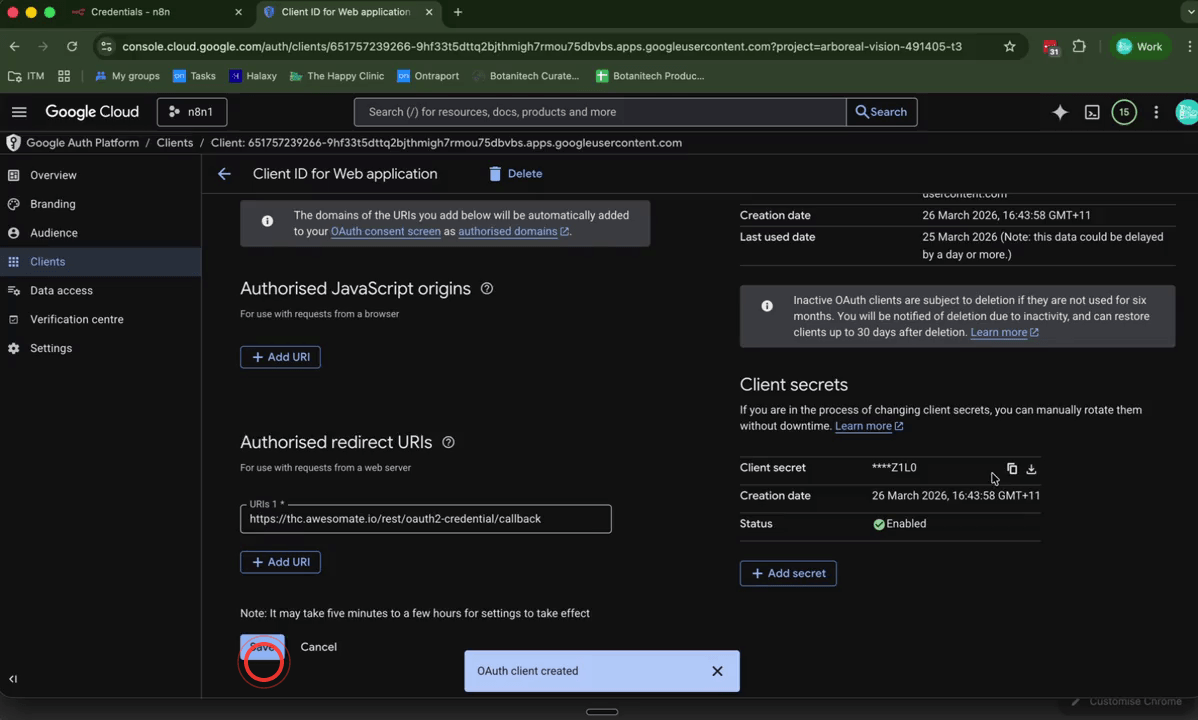
Click Create OAuth Client. Set the Application Type to Web Application and give it a name such as N8N1. Under Authorised Redirect URIs, click Add URI and paste in the redirect URL copied from your N8N credential screen (see Step 12 below for how to copy this). Once the URI has been added, click Create.
Step 12: Copy the Redirect URL from N8N
Switch back to your N8N Google Calendar credential screen. Locate the Redirect URL field and click directly on it — N8N will automatically copy the URL to your clipboard and display a confirmation message. Paste this URL into the Authorised Redirect URIs field in Google Cloud Console before clicking Create. Note: You may need to complete Steps 11 and 12 together, switching between N8N and Google Cloud to copy and paste the URL.
Step 13: Save Your Client ID and Client Secret
After clicking Create, Google will display your Client ID and Client Secret. Copy both values and store them somewhere secure — for example, create a saved note in LastPass labelled Google OAuth 2 API. It's important to save these now, as you'll reuse the same Client ID and Client Secret for every Google service you connect to N8N — you won't need to generate new ones each time.
Step 14: Paste Credentials into N8N and Authenticate
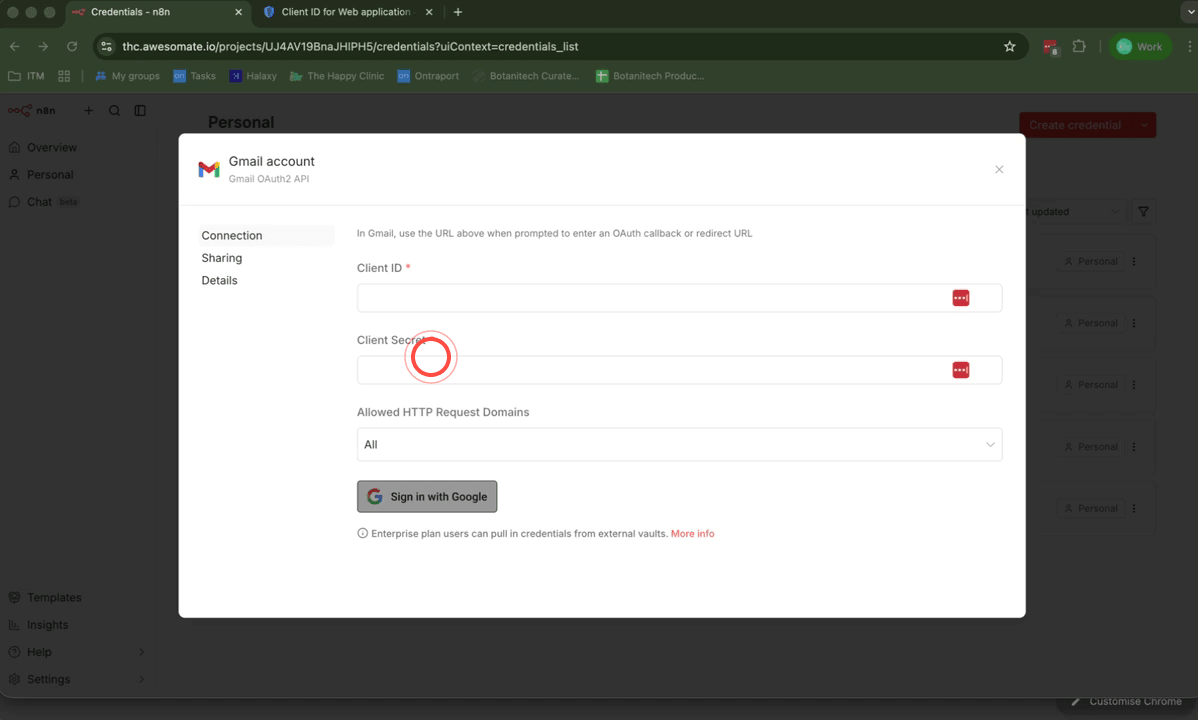
Return to the N8N Google Calendar credential screen and paste your Client ID and Client Secret into the corresponding fields. Click Sign in with Google, select the Google account you want to connect, and click Allow to grant the required permissions. Once complete, Google Calendar will show as connected in N8N.
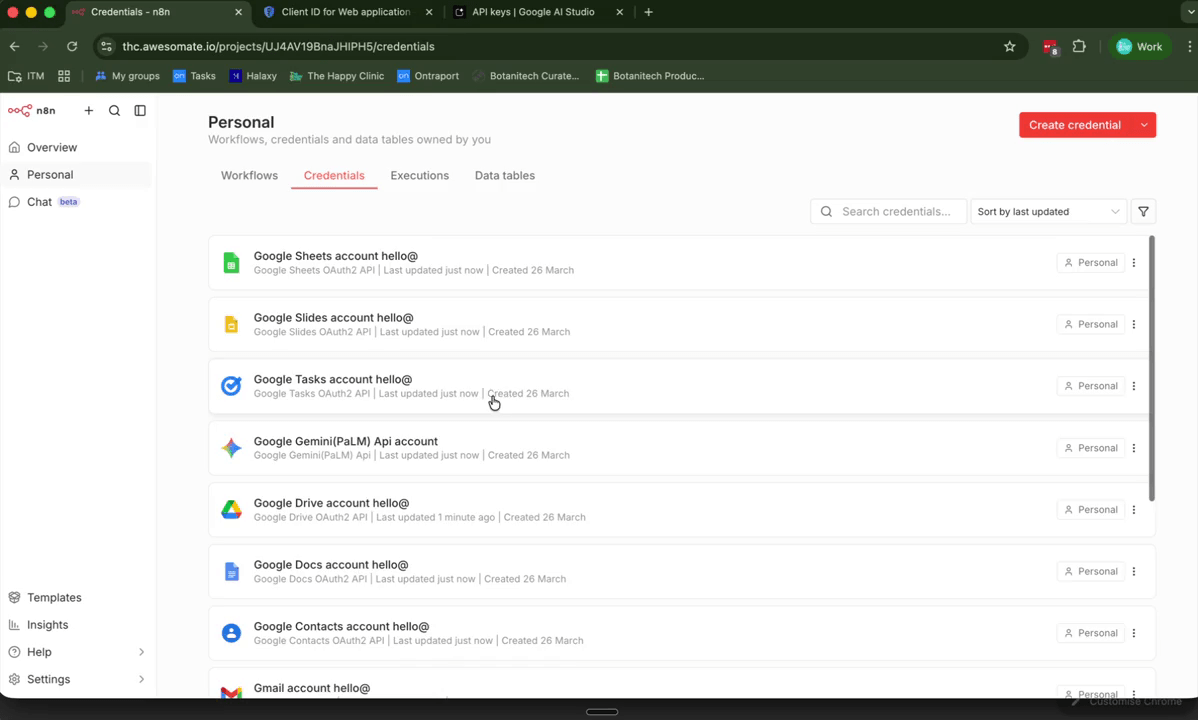
Step 15: Repeat the Process for Gmail and Other Google Services
You'll now need to create a separate credential in N8N for each remaining Google service. Click Create Credential, search for Google, and select the next service from the list. For each one, paste in the same Client ID and Client Secret you saved in Step 13, then click Sign in with Google and click Allow. Repeat this process for all of the following services:
- Gmail
- Google Contacts
- Google Docs
- Google Drive
- Google Sheets
- Google Slides
- Google Tasks
Step 16: Set Up Google Gemini API Credentials
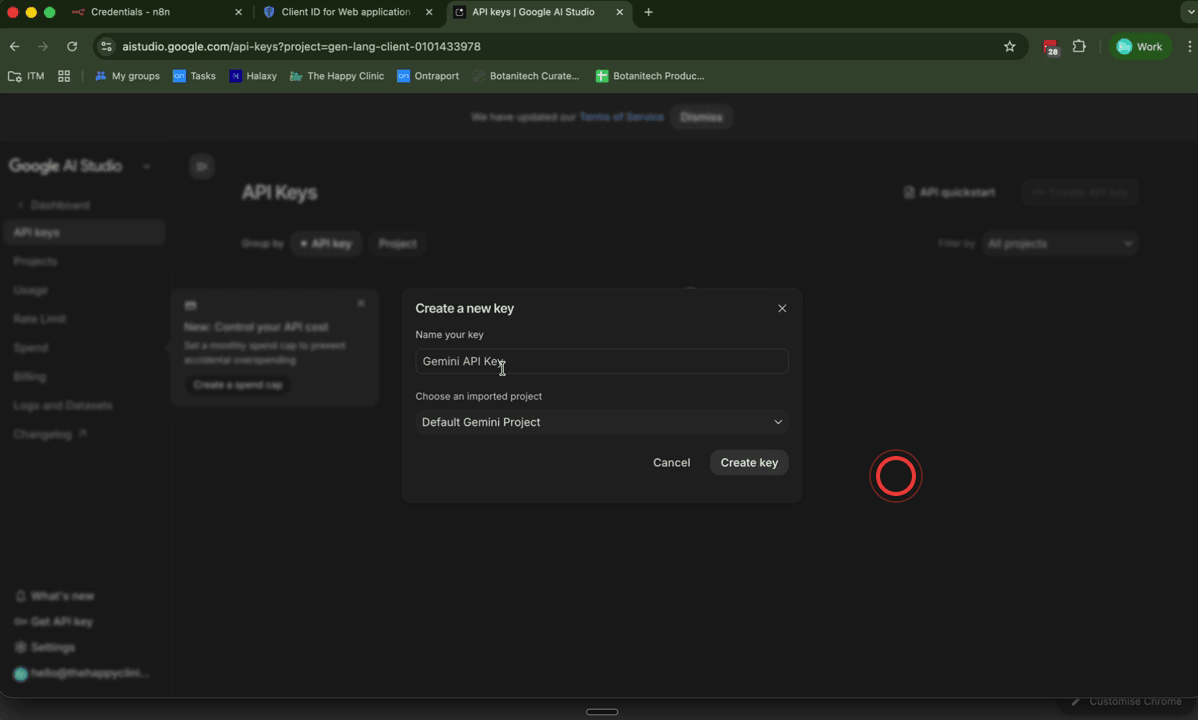
Open a new browser tab and navigate to aistudio.google.com. Accept any acknowledgements that appear, then click Get API Key followed by Create API Key. Give the key a name, then click Copy to copy the generated key. Back in N8N, create a new credential, search for Google Gemini, and paste the API key into the relevant field. Google Gemini has its own dedicated node in N8N and is particularly useful for creating and analysing images within your workflows.
Step 17: Label All Credentials with the Associated Email Address
Once all credentials have been created, it's good practice to rename each one to include the email address it's linked to — for example, Google Calendar – hello@yourdomain.com.au. This makes it much easier to identify the correct credential if you're managing multiple Google accounts in N8N. Click into each credential, update the name, and click Save at the bottom of the screen. Note that your Google Gemini credential does not need an email label, as it uses an API key rather than a user account.
Troubleshooting
The "Enable" button is greyed out or missing for an API. This usually means the API has already been enabled in your project, or you may be viewing the wrong project. Check the project name shown in the top dropdown in Google Cloud Console and make sure it matches the project you created in Step 5.
The OAuth consent screen is asking me to set the audience to "External". If you're using a personal Gmail account (rather than a Google Workspace account), the Internal option may not be available. In this case, select External and proceed — this will still work correctly for your own use.
N8N is showing an error after clicking "Sign in with Google" or "Allow". Double-check that the redirect URL you copied from N8N in Step 12 was pasted exactly into the Authorised Redirect URIs field in Google Cloud — even a small difference will cause authentication to fail. Also confirm that the Client ID and Client Secret were copied correctly without any extra spaces.
Need Help?
Contact us at support@awesomate.com.au or raise a ticket in your Teamwork Desk portal.