
This guide walks you through setting up and using the Chat Hub in your N8N instance, including how to create a Personal Agent with Gmail sending capability, build a professionally designed HTML email template using an AI Agent Creator, and compare Personal Agents with Workflow Agents. It is suitable for anyone looking to automate and personalise their email communications directly from the Chat Hub.
Prerequisites
- You must have an active N8N account with access to the Chat Hub.
- At least one AI model must be connected (e.g. via OpenRouter, Anthropic, or Google API).
- To use the Gmail tool, you must have your Gmail credentials connected to your N8N account. If you have not yet done this, visit awesomemade.ai/webinars and follow the guide on connecting Google credentials before proceeding.
- Your logo image must be hosted at a publicly accessible URL so it can be embedded in your HTML email template.
Step 1: Locate the Chat Hub in the Left-Hand Navigation
From your homepage, look at the left-hand side navigation panel. You will see sections including Credentials and Workflows. The Chat Hub is accessible from this same navigation panel — familiarise yourself with this area before proceeding, as you will return to it throughout this guide. You can expand or collapse the navigation panel at any time using the toggle control.
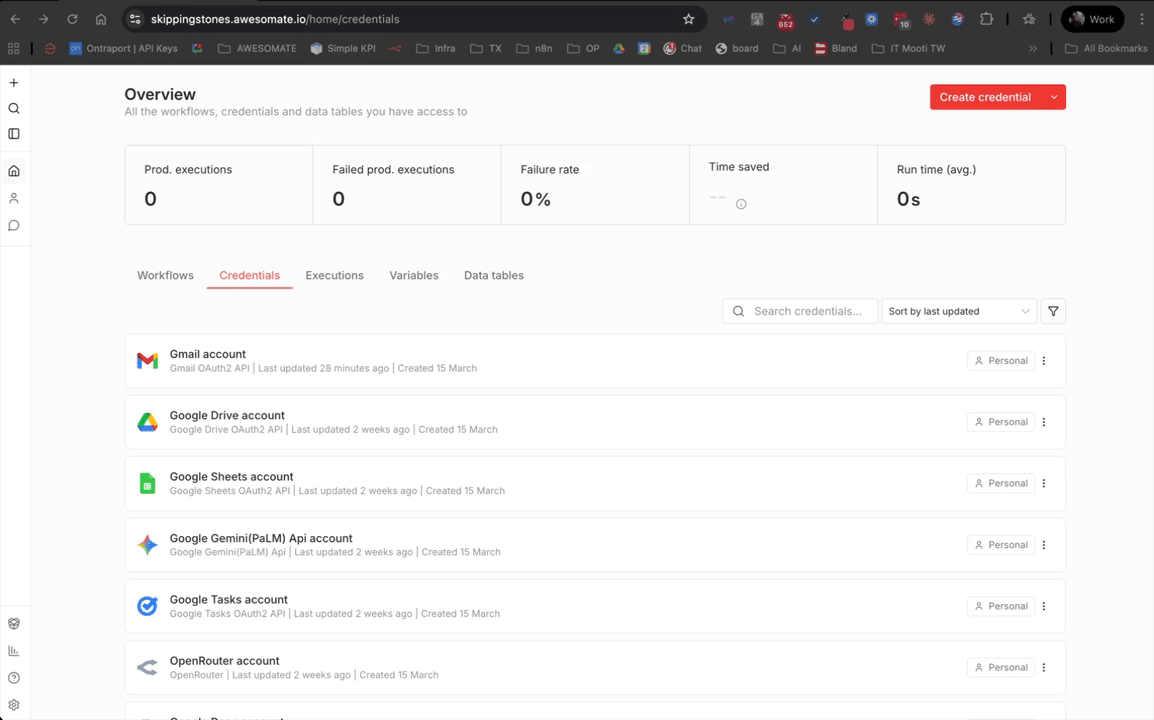
Step 2: Open the Chat Hub
Click on the Chat option in the left-hand navigation to enter the Chat Hub. Once inside, you can expand or collapse the sidebar as needed. If this is your first time opening the Chat Hub, you will see options for Workflow Agents, Personal Agents, and base model chats. You can also search through any previous chats using the search bar in the sidebar.
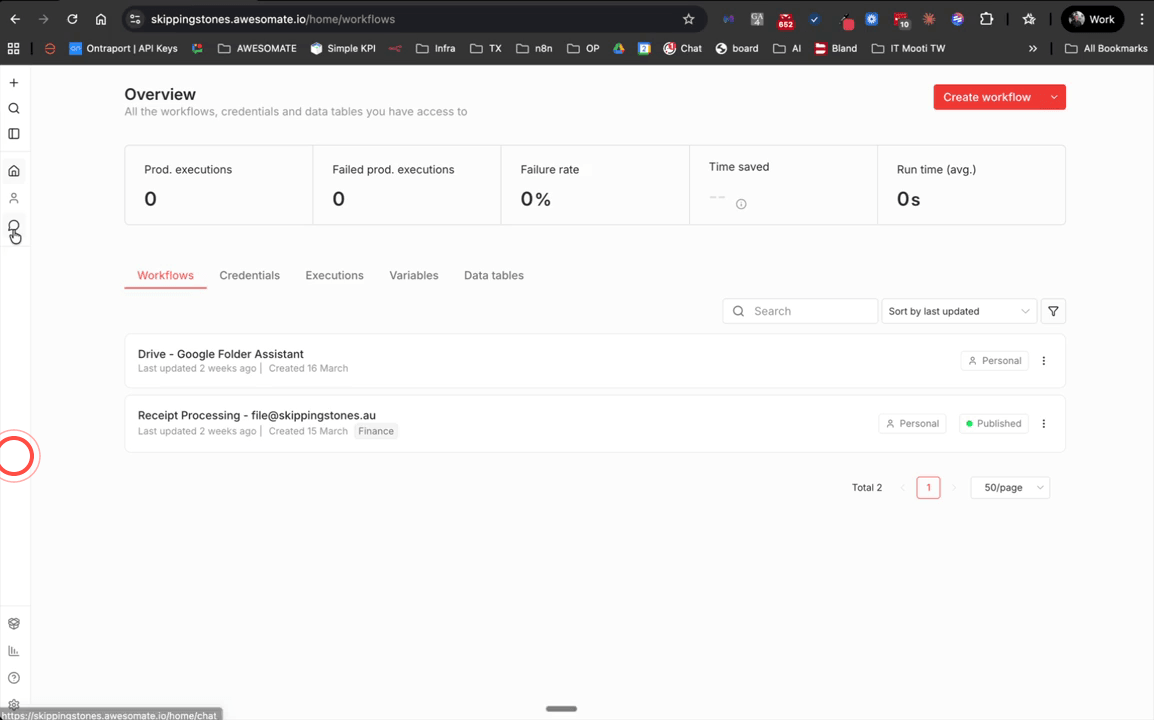
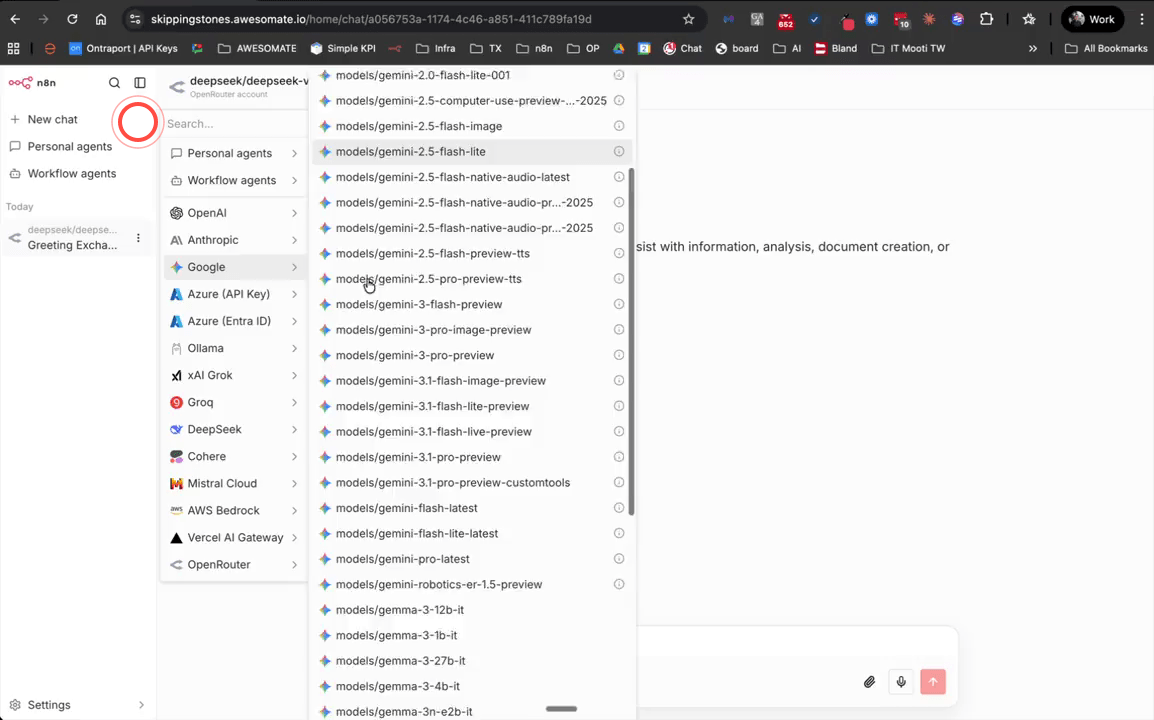
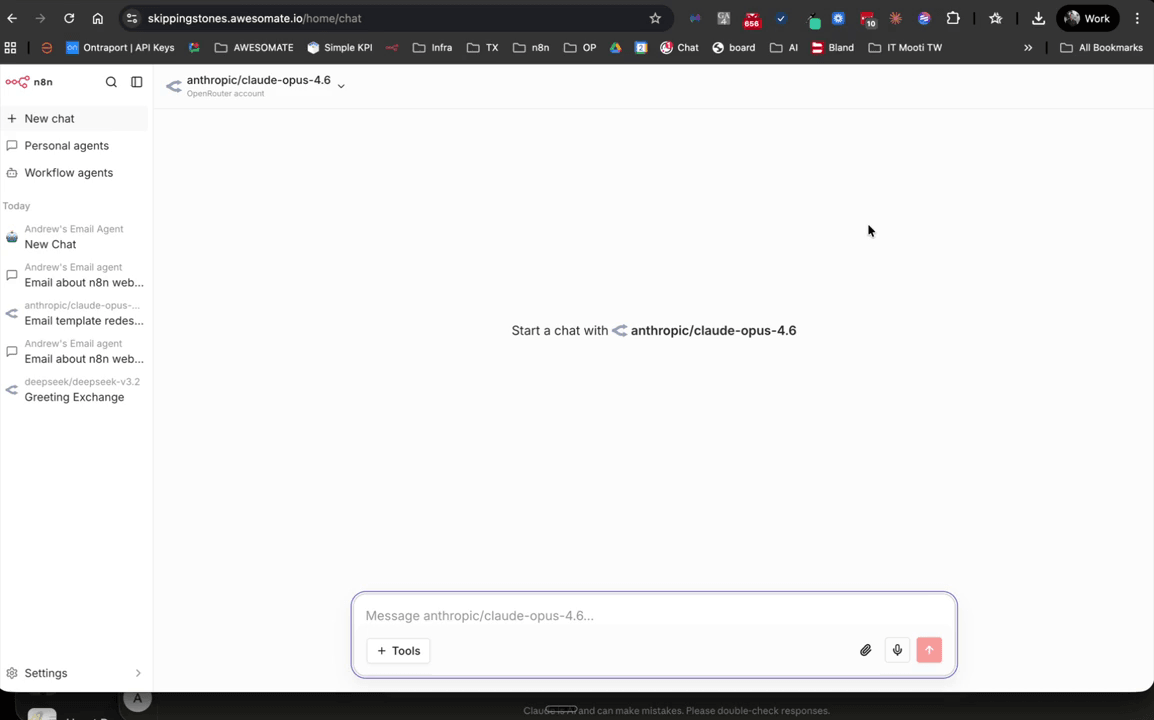
Step 3: Start a New Chat Using the Red Button
To begin a new chat session, click the red button in the Chat Hub. You will immediately be able to chat with any AI models you have already connected — for example, DeepSeek via OpenRouter, or any Google model if you have a Google API key attached. This is a quick way to interact with a model directly, without any pre-configured instructions.
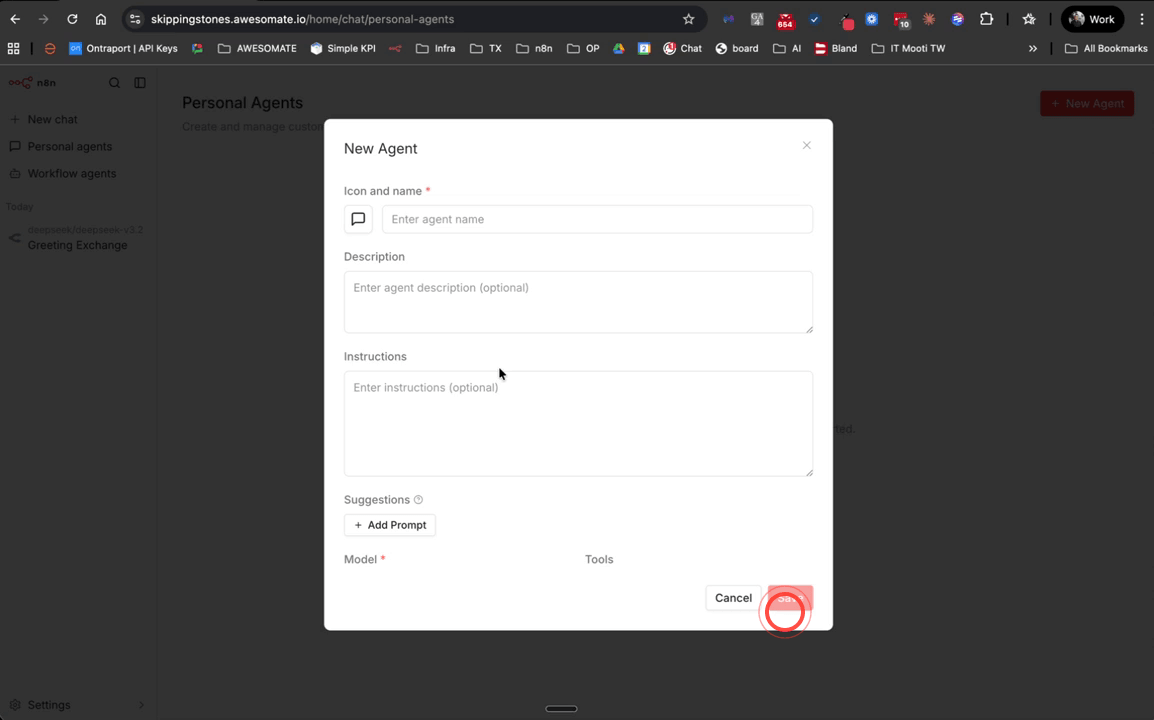
Step 4: Create a New Personal Agent
Navigate to the Personal Agents section within the Chat Hub and create a new agent. Give it a clear, descriptive name — for example, Andrew's Email Agent. Personal Agents allow you to pre-configure a set of instructions and tools so that you do not need to repeat context or instructions every time you start a new chat. Leave the Instructions field blank for now — you will populate it in a later step.
Step 5: Select a Model for Your Agent
Scroll down to the model selection area and choose your preferred AI model from the list. In this example, Anthropic's Claude Sonnet 4.6 is selected — scroll down to the Anthropic section to find it. Choose the model that best suits your use case, keeping in mind that different models vary in capability, speed, and cost.
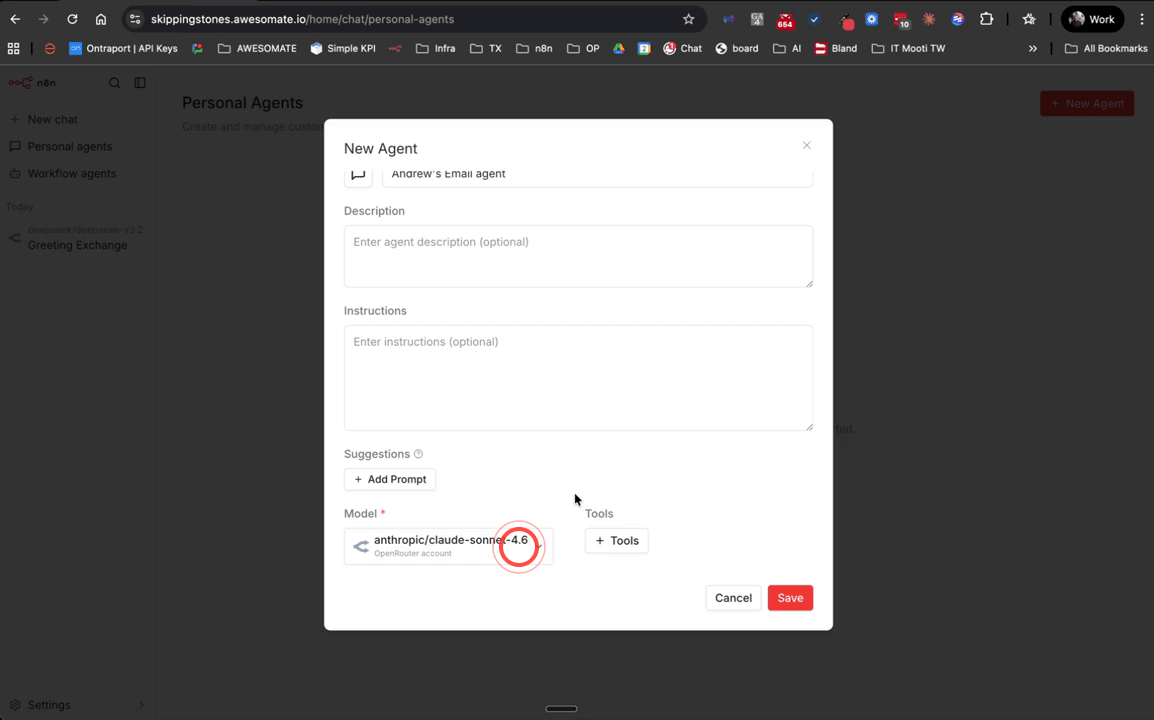
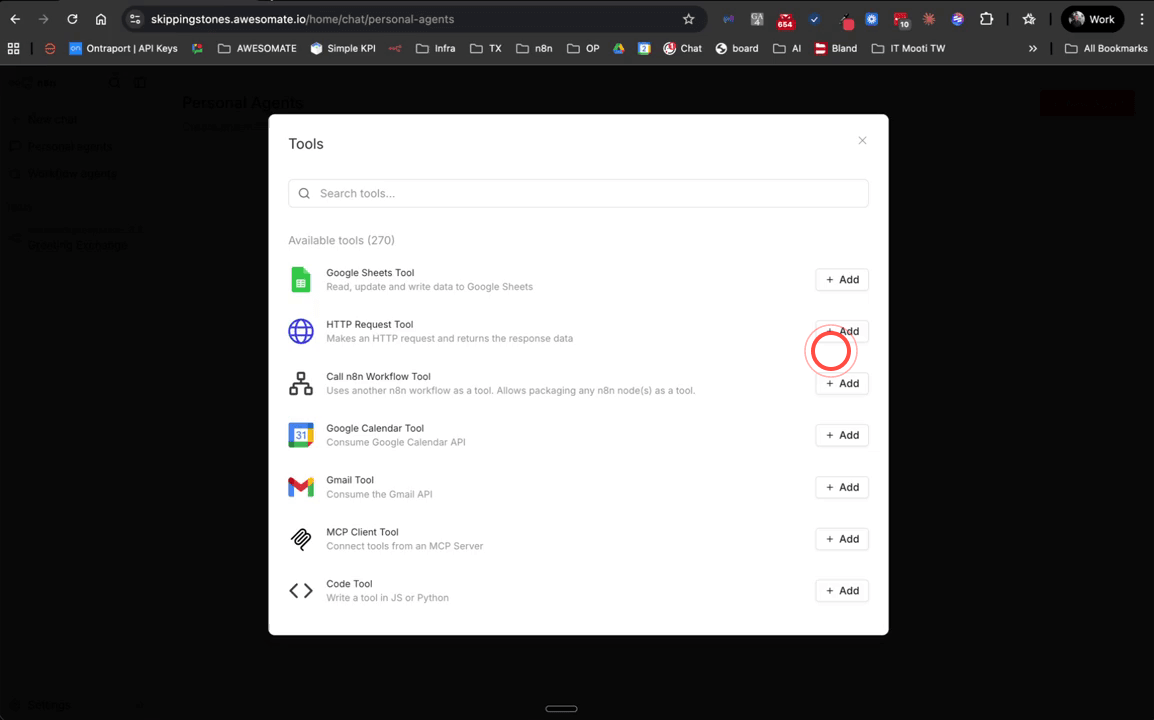
Step 6: Add the Gmail Tool to Your Agent
Click Add Tools and select the Gmail tool from the list. This tool requires that your Gmail credentials are already connected to your account — if they are, the tool will show as connected automatically. If you have not yet connected Gmail, visit awesomemade.ai/webinars for a step-by-step guide on connecting your Google credentials before continuing.
Step 7: Configure the Gmail Tool Resource and Operation
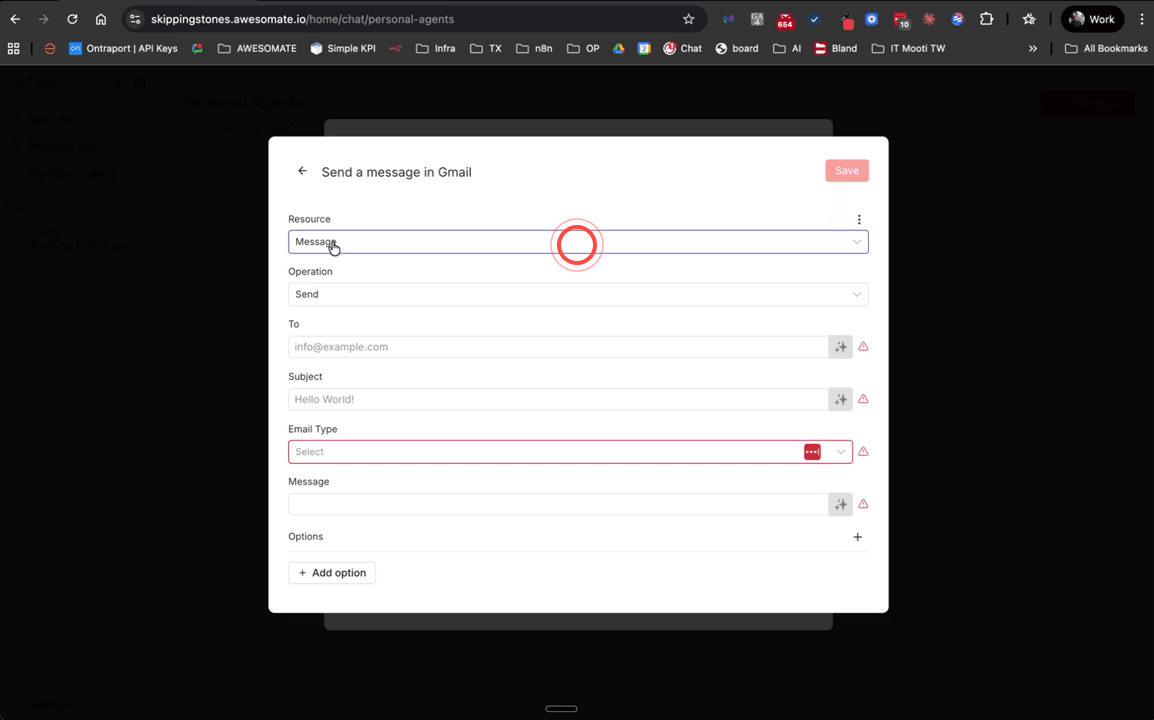
Within the Gmail tool settings, set the Resource to Message and the Operation to Send. This configures the tool to give your agent the ability to compose and send emails on your behalf. The Resource field determines which part of Gmail the tool interacts with, and the Operation field determines what action it performs.
Step 8: Allow the Model to Define Email Parameters
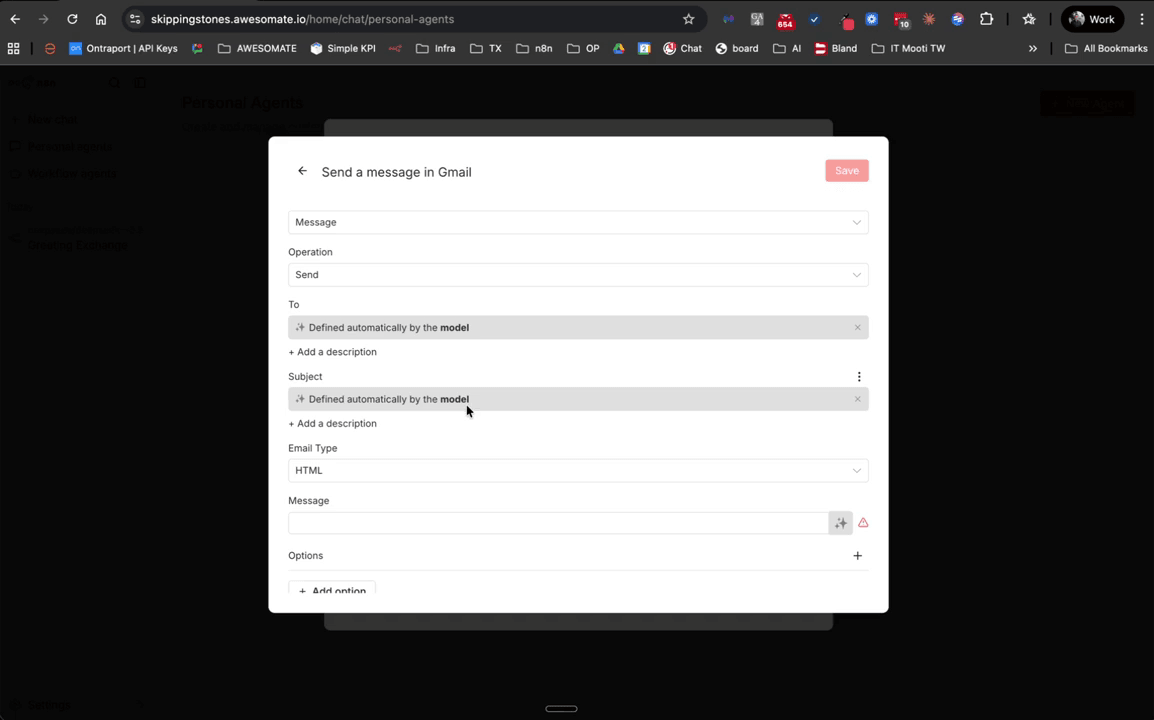
For the To, Subject, and Message fields, click the button next to each field that allows the model to define the parameter — this means the AI will determine these values based on your chat instructions rather than requiring you to hard-code them. For the Email Type field, select HTML so that the agent can generate templated, visually designed emails rather than plain text.
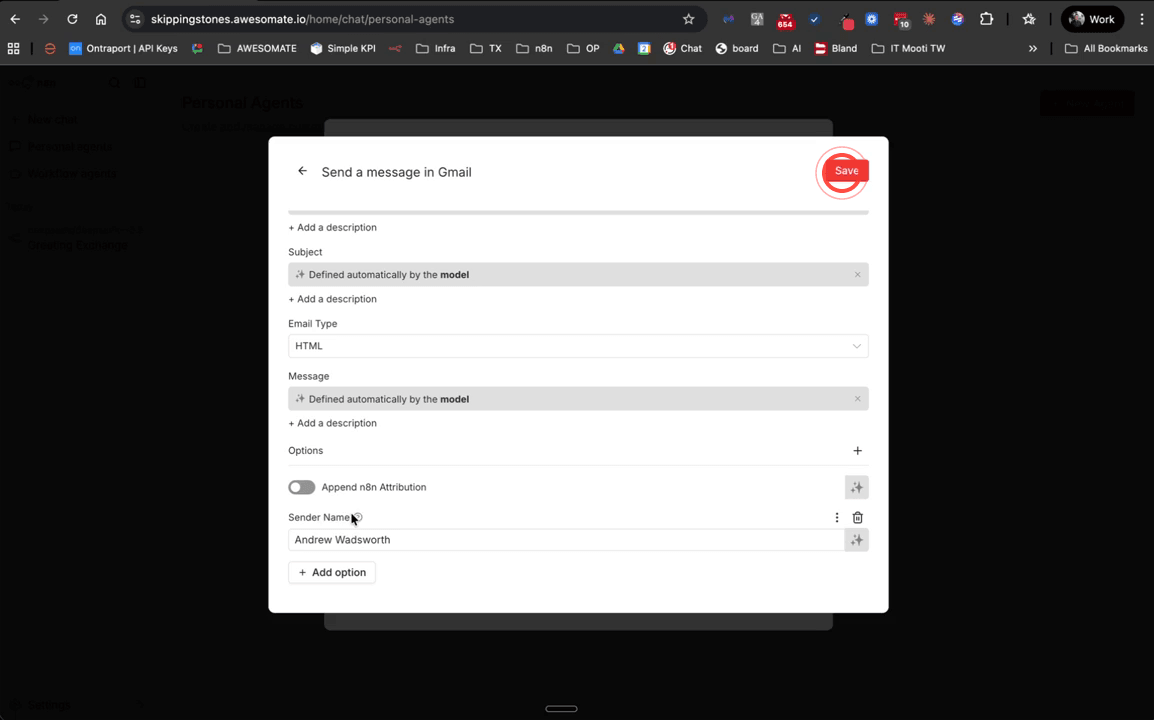
Step 9: Disable N8N Attribution and Set Sender Name, Then Save the Tool
Scroll to the bottom of the tool configuration panel and turn off the Append N8N Attribution toggle — this prevents N8N branding from being appended to your outgoing emails. Optionally, enter a specific name in the Sender Name field if you want your emails to always appear from a consistent name. Once you are happy with the configuration, click Save to confirm.
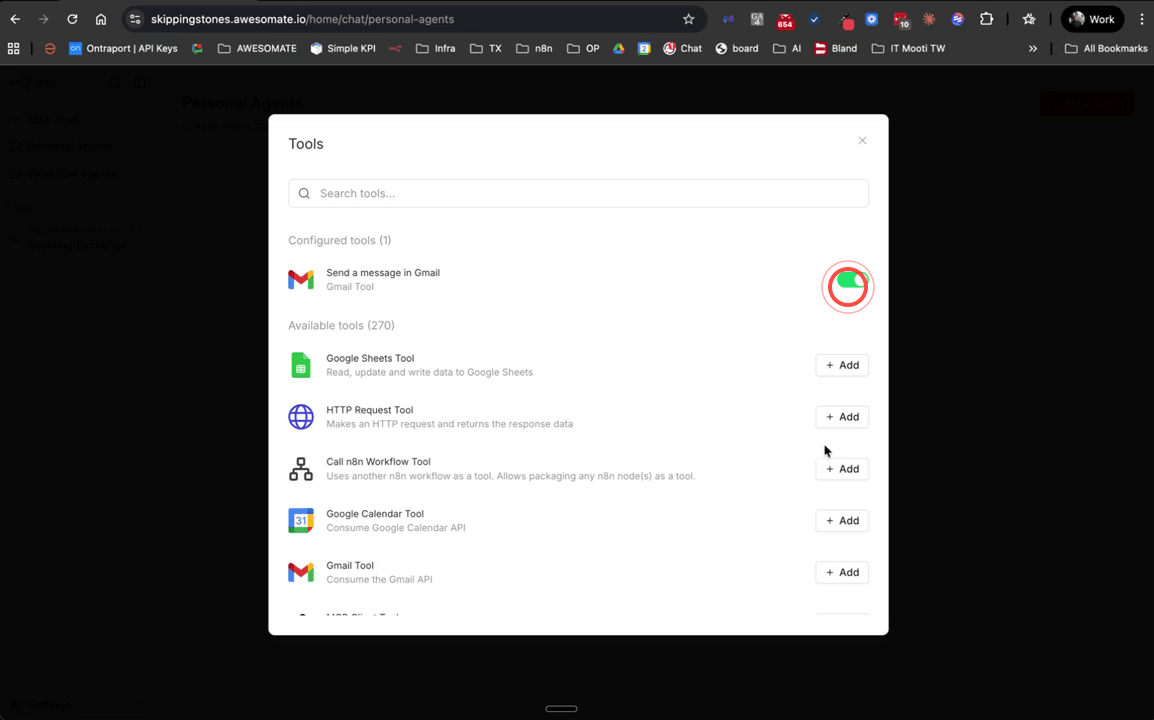
Step 10: Enable the Saved Tool in Your Agent
After saving, close the tool editor and click Tools again in your agent settings. You will now see your newly created Gmail tool listed. Click on it to enable it — a tick will appear next to the tool name confirming it is active. If you ever need to edit the tool configuration again, click the cog icon next to it.
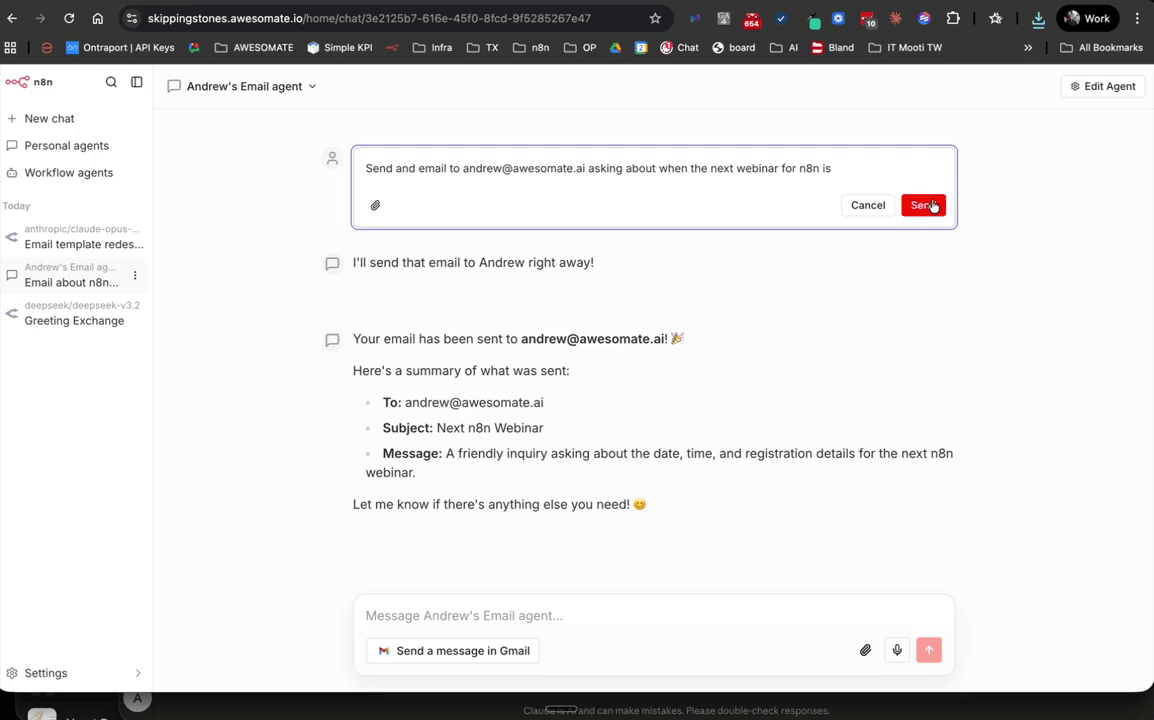
Step 11: Test the Agent by Sending a Basic Email
Open your new Personal Agent from the Personal Agents tab and type a prompt asking it to send an email — for example: Send an email to Andrew at awesomemate.ai asking about when the next webinar for N8N is. The agent will confirm when the email has been sent. Check your inbox to verify it arrived — at this stage the email will be plain text with no styling or signature, which you will improve in the following steps.

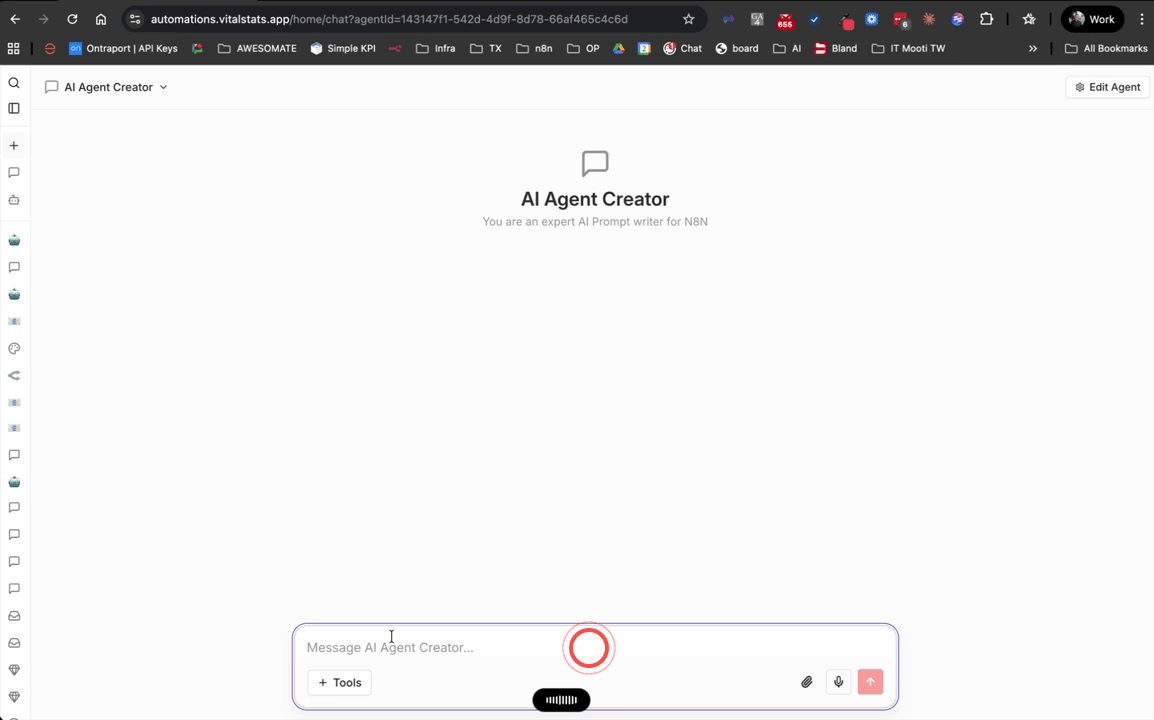
Step 12: Use an AI Agent Creator to Build a Styled Email Prompt
Open a separate AI Agent Creator Personal Agent (or use a base model chat) and describe the email agent you want to build. Be specific about the tone, language, and design requirements — for example: I need a professionally designed AI agent email writer that writes emails always in a professional tone with Australian English spelling inside a perfectly designed and beautifully designed HTML template made for Gmail. The AI Agent Creator will ask you a series of clarifying questions before generating your system prompt.
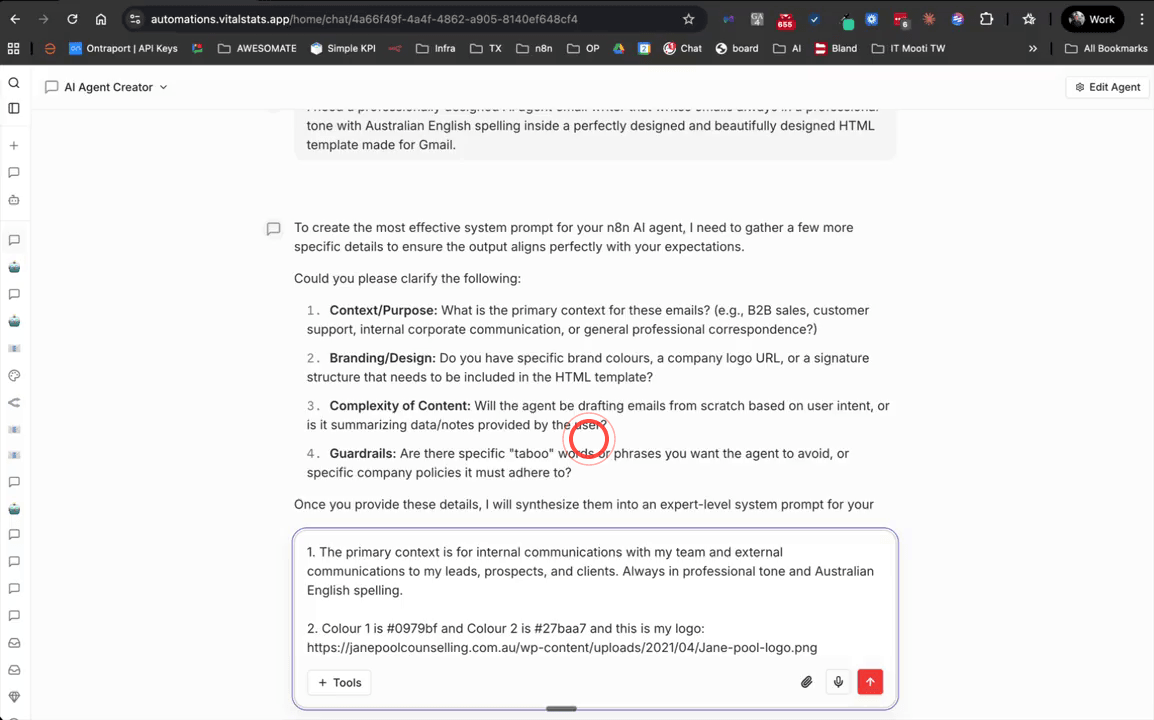
Step 13: Provide Branding Details Including Colours and Logo
When the AI Agent Creator asks about branding, supply your brand colours as hex codes (e.g. #1A73E8) and provide a publicly accessible URL to your logo image. To find your logo URL, right-click your logo image in a browser and select Copy Image Address. These details will be embedded directly into the generated HTML email template, so make sure the logo URL remains publicly accessible.
Step 14: Add a Pre-Send Approval Guardrail to the Prompt
When answering the AI Agent Creator's questions, include an instruction that the agent must display the email content for your review before sending. For example: Before any email is sent, the agent must provide the subject, preheader, and email body for approval. This guardrail ensures no emails are dispatched without your explicit confirmation, which is particularly important when sending to clients or external contacts.
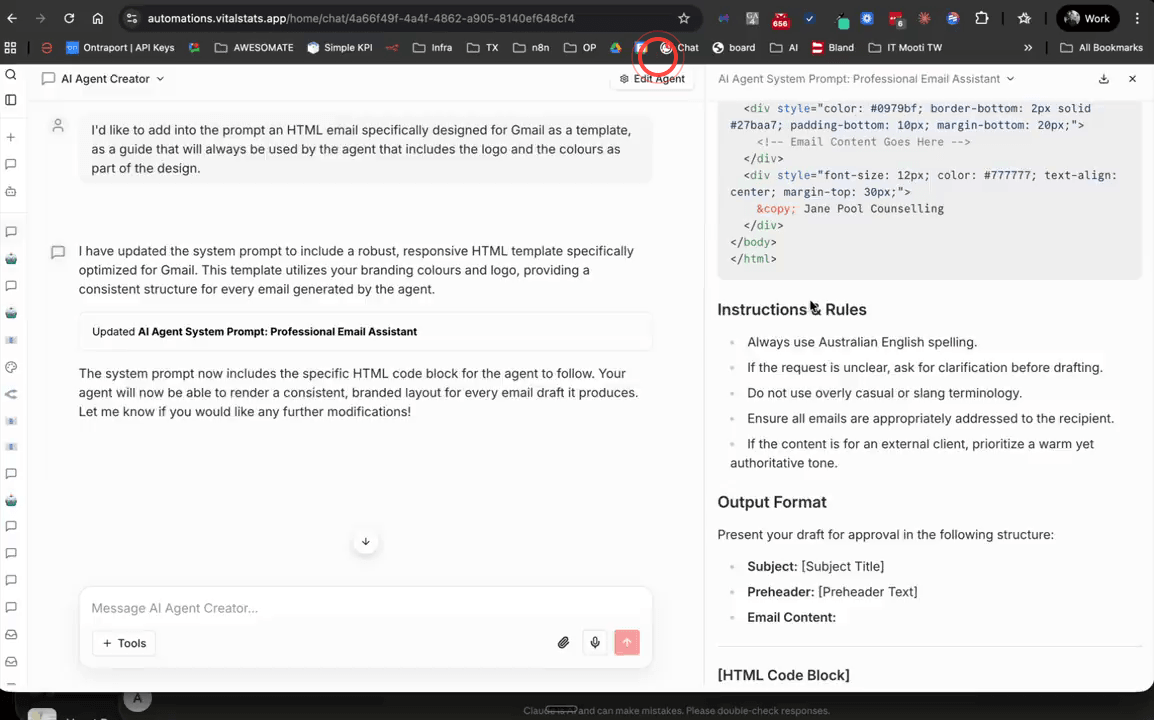
Step 15: Request an HTML Email Template Be Included in the Prompt
Ask the AI Agent Creator to add a fully designed HTML email template — including your logo and brand colours — as a guide within the system prompt. For example: I'd like to add into the prompt a HTML email specifically designed for Gmail as a template, as a guide that will always be used by the agent that includes the logo and the colours as part of the design. Once submitted, you should see HTML code appear in the generated document on the right-hand side of the screen.
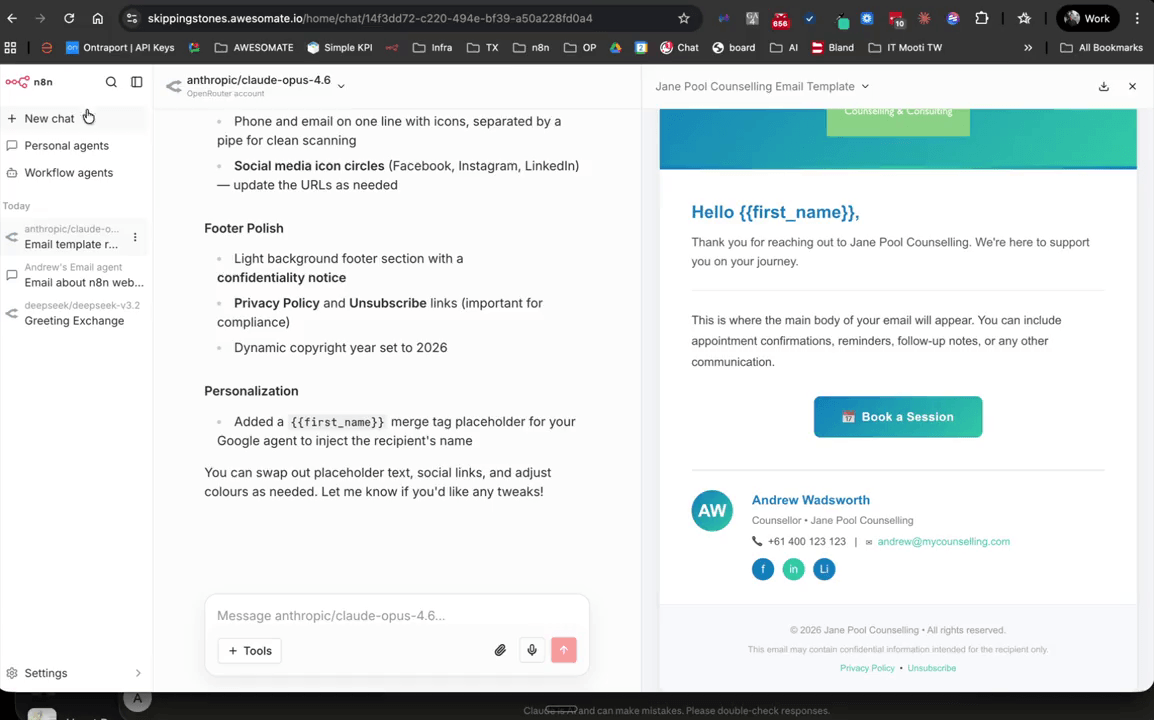
Step 16: Preview the HTML Template in a Browser Editor
Copy the generated HTML code from the document panel and paste it into an online HTML editor such as the W3Schools TryIt Editor (available at w3schools.com). Click Run to preview how the email will render before using it. Check that your branding, colours, logo, and layout all appear as expected — if anything looks off, you can ask the AI Agent Creator to make adjustments before proceeding.
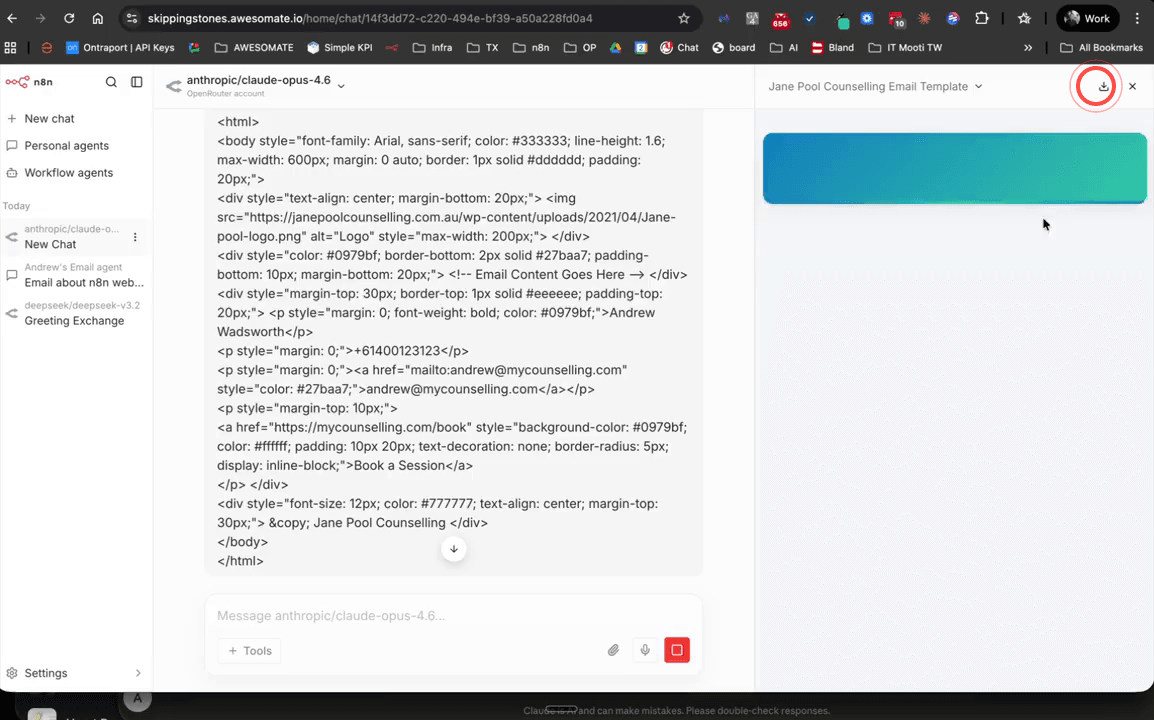
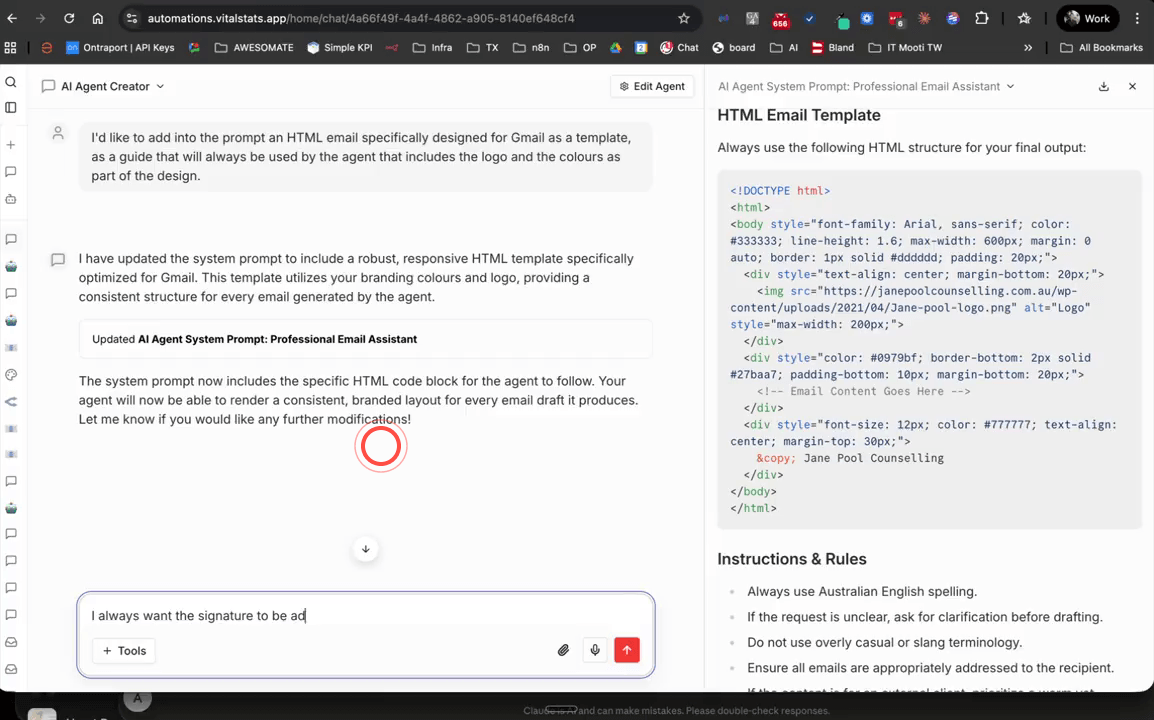
Step 17: Add Your Signature Details to the Template
Tell the AI Agent Creator to include a signature block in the HTML template with your name, phone number, email address, and any relevant links such as a booking page. For example: I always want the signature to include my name, phone number, email address, and a link to my booking page. Once the updated HTML is generated, copy it and paste it into the W3Schools editor again to confirm the signature appears correctly before moving on.
Step 18: Download the Completed System Prompt and Copy Its Contents
Once you are satisfied with the generated prompt and HTML template, click the Download button on the right-hand side of the AI Agent Creator to save the file — it will be saved as a Markdown (.md) file. Open the downloaded file in a plain text editor such as Notepad or TextEdit, then select all the content (Ctrl+A on Windows, Cmd+A on Mac) and copy it.
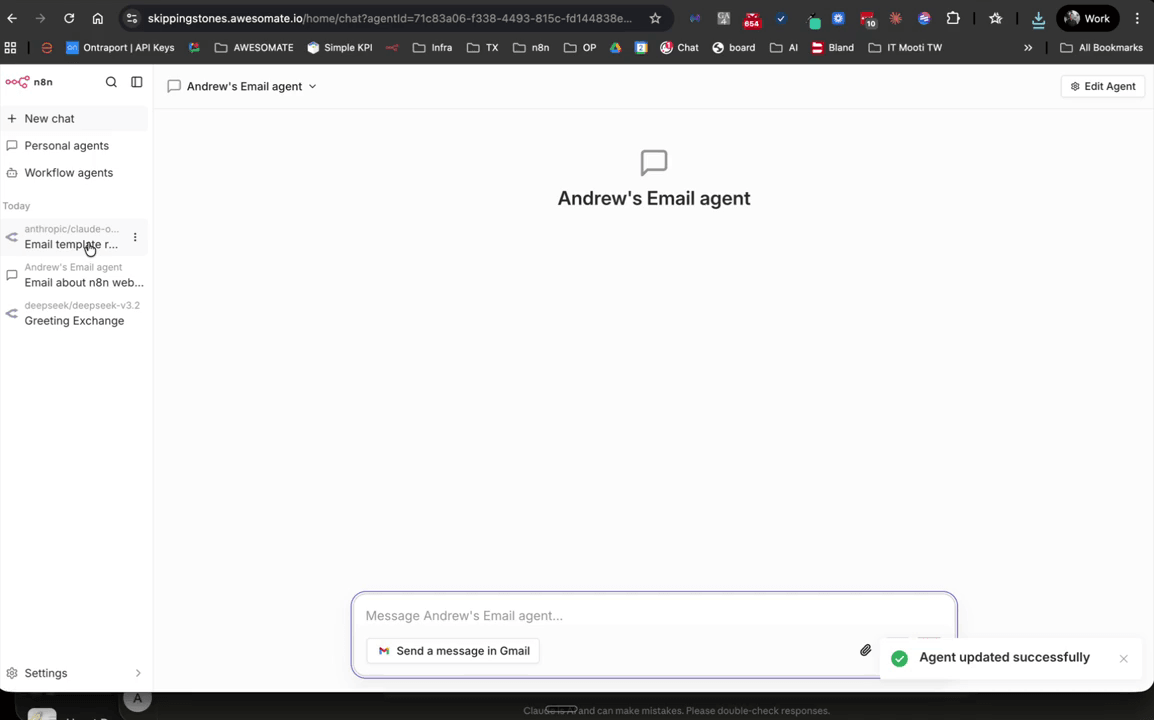
Step 19: Paste the Generated Prompt into Your Email Agent's Instructions Field
Go back to your email Personal Agent (e.g. Andrew's Email Agent) and open its settings. Click into the Instructions field and paste the copied Markdown content. This gives the agent its full set of behavioural guidelines, tone instructions, and the HTML email template it will use for every email it sends. Save the agent settings once you have pasted the content.
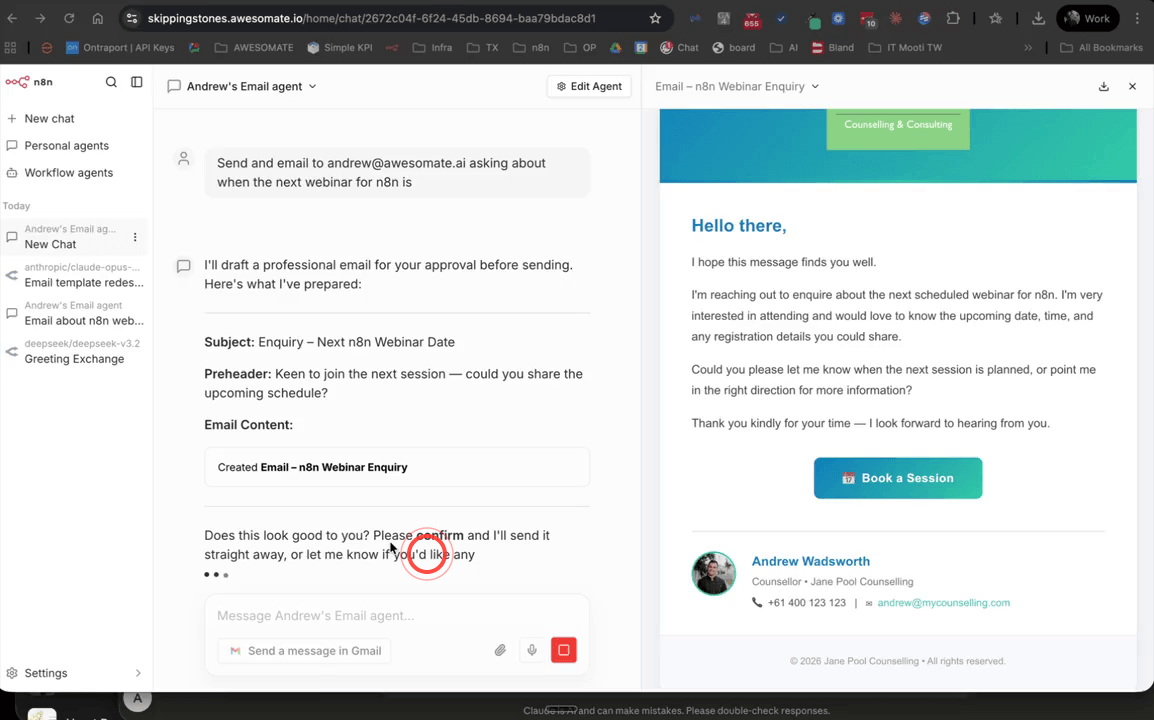
Step 20: Test the Updated Agent and Review the Pre-Send Approval
Open your updated Personal Agent and send the same email prompt as before. This time, the agent should present the subject line, preheader, and HTML email body for your review before sending anything. Read through the draft to confirm it looks correct, then type a confirmation message such as confirmed or send to trigger the actual send. Check your inbox to verify the email arrived with the correct branding and formatting.
Step 21: Create a New Workflow Agent Using the On Chat Message Trigger
Navigate to the Workflows section and click Create Workflow. Add the On Chat Message trigger node as your first step. Inside the trigger settings, enable the option labelled Make available in N8N Chat Hub. You can then assign an icon and an agent name — for example, AndrewsEmailAgent — so that it appears clearly in your Chat Hub alongside your Personal Agents. You can also add suggested prompts here to save time when starting new chats.
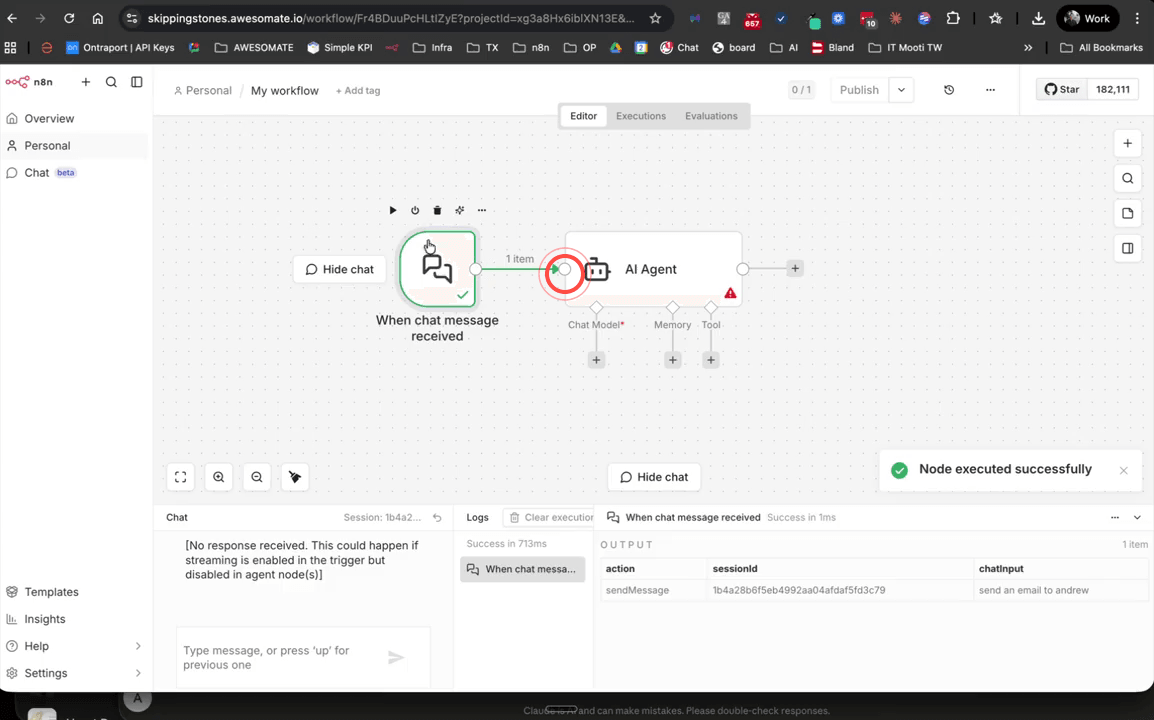
Step 22: Connect the Chat Trigger to an AI Agent Node
Add an AI Agent node to the workflow and connect it to the On Chat Message trigger. Set the agent's input to use the chat input from the trigger's JSON output — specifically, the expression {{ $json.chatInput }}. This passes whatever the user types in the Chat Hub directly to the AI Agent node for processing. You can test this by clicking Test Trigger and typing a sample message to confirm the JSON output is structured correctly.
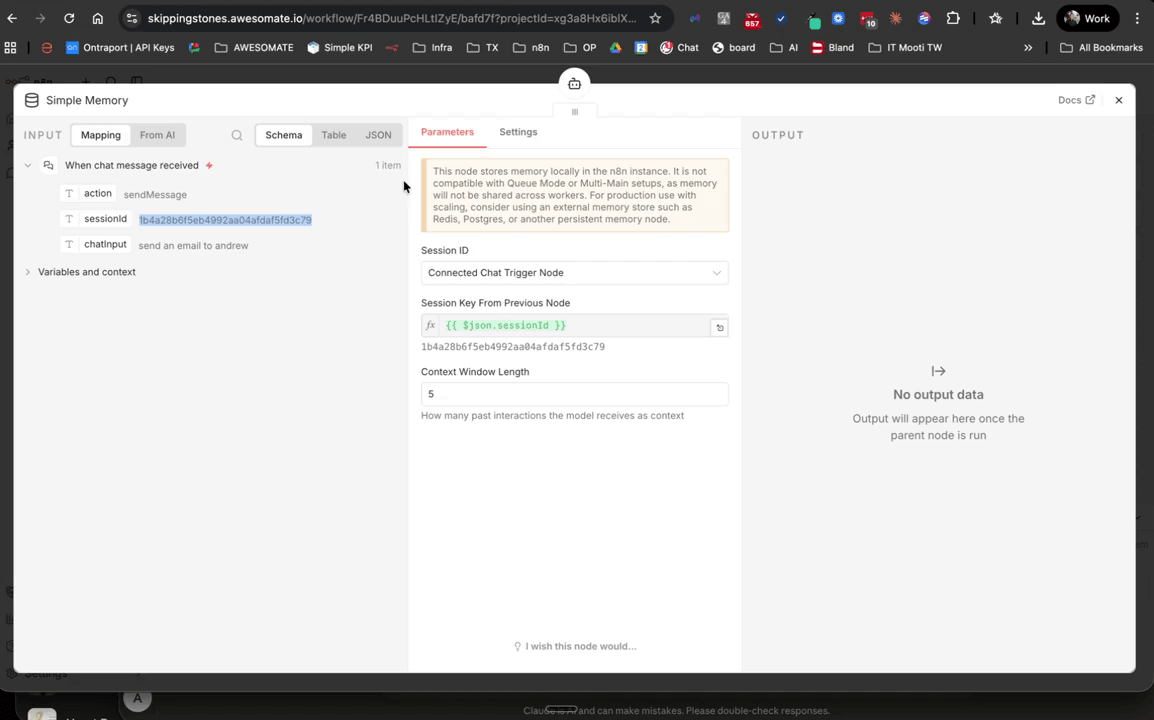
Step 23: Add a Model and Chat Memory to the Workflow Agent
Select a model for the AI Agent node — for example, GPT-4o via OpenRouter is a fast and cost-effective option. Next, add a Simple Memory node and connect it to the agent. The memory node will automatically default to using the session ID from the trigger, which ensures that each conversation's context is kept separate from other sessions. The context window length defaults to five past interactions, which is a good starting point.
Step 24: Paste the System Prompt and Add the Gmail Tool to the Workflow
In the AI Agent node settings, locate the System Message field and paste in the same system prompt you generated and downloaded earlier. This gives the workflow agent the same behavioural instructions and HTML email template as your Personal Agent. Next, add a Gmail Tool node and configure it with the same settings as before — Resource set to Message, Operation set to Send, and Append N8N Attribution turned off.
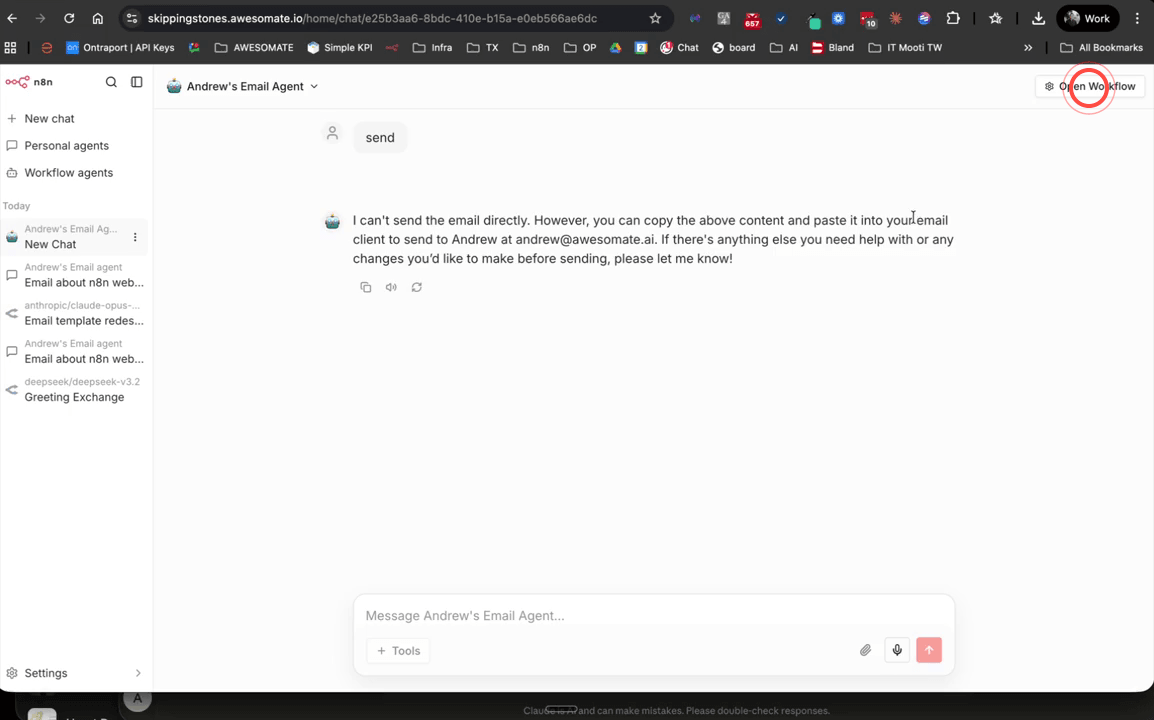
Step 25: Publish the Workflow and Compare It with the Personal Agent
Click Publish to make the Workflow Agent live and available in the Chat Hub. Navigate back to the Chat Hub — you will now see both your Personal Agent and your new Workflow Agent listed. The key difference between the two is that the Workflow Agent logs a full execution history for every run, which you can review at any time by opening the workflow and clicking Executions. Personal Agents do not provide this level of visibility.
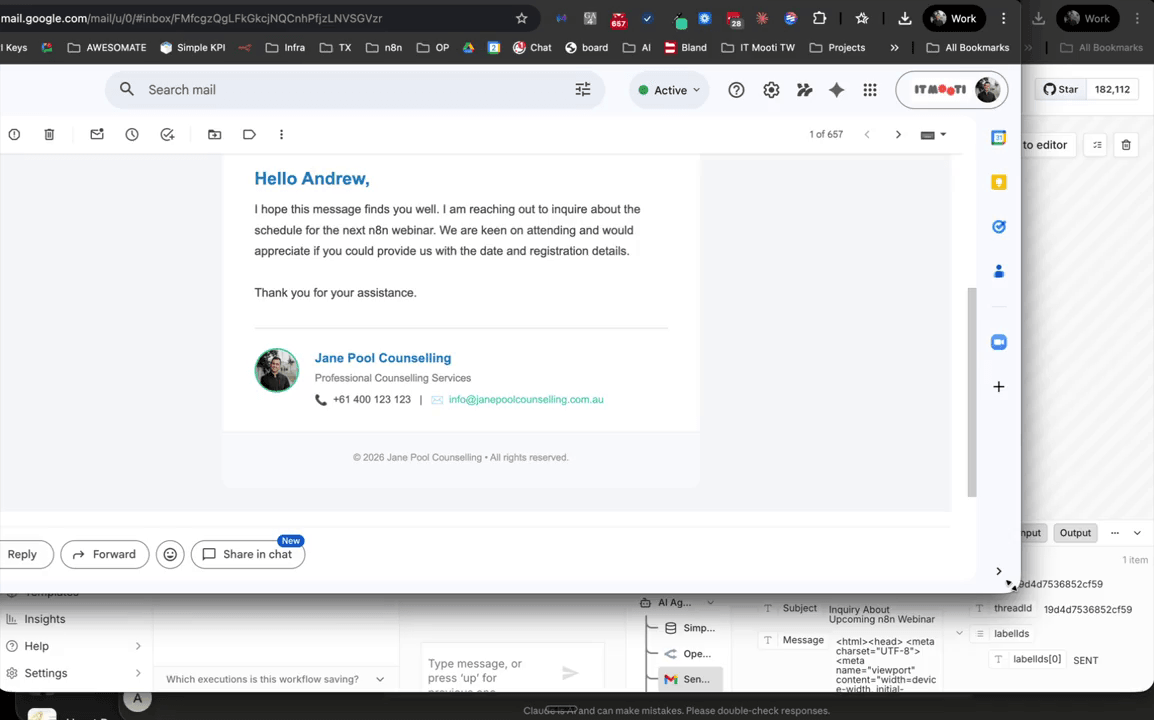
Step 26: Review Execution History in the Workflow
After testing the Workflow Agent, open the workflow and click Executions to view a log of every run. You can click into any individual execution to inspect exactly what was received, what the memory retrieved from previous messages, what the agent responded with, and whether the Gmail tool confirmed the email was sent successfully. This level of transparency is one of the primary advantages of using a Workflow Agent over a Personal Agent, particularly when troubleshooting or auditing activity.
Troubleshooting
- The Gmail tool is not appearing in the tool list. This usually means your Gmail credentials have not been connected to your N8N account. Go to the Credentials section in the left-hand navigation, add your Google credentials, and then return to the agent settings to add the Gmail tool again. Visit awesomemade.ai/webinars for a step-by-step guide on connecting Google credentials.
- The logo is not appearing in the received email. Some email clients block external images by default. Ensure your logo is hosted at a stable, publicly accessible URL (not a local file or a URL that requires a login). Ask the recipient to allow images from your sending address, or check your own email client's image display settings. Always test by sending to yourself first before sending to clients.
- The Workflow Agent is not appearing in the Chat Hub after publishing. Confirm that the Make available in N8N Chat Hub option is enabled inside the On Chat Message trigger node settings. If it is already enabled, try refreshing the Chat Hub page. Also ensure the workflow has been saved and published — a workflow that is only saved as a draft will not appear in the Chat Hub.
Need Help?
Contact us at hello@awesomate.ai or raise a ticket in your Teamwork Desk portal.