
This guide explains the four types of variables available in N8N, how to create and manage them through your Awesomate dashboard, and how to reference them inside your workflows. It is suitable for all Awesomate users, whether you are just getting started or looking to move away from hard-coding information across multiple workflows.
Prerequisites
- An active Awesomate account with access to the n8n tab https://wrkflw.awesomate.ai or signup first at https://awesomate.ai/n8n-hosting
- At least one n8n workflow or instance connected to your Awesomatw account
- Optional: Business Identity Manager installed in your account (covered in Step 7)
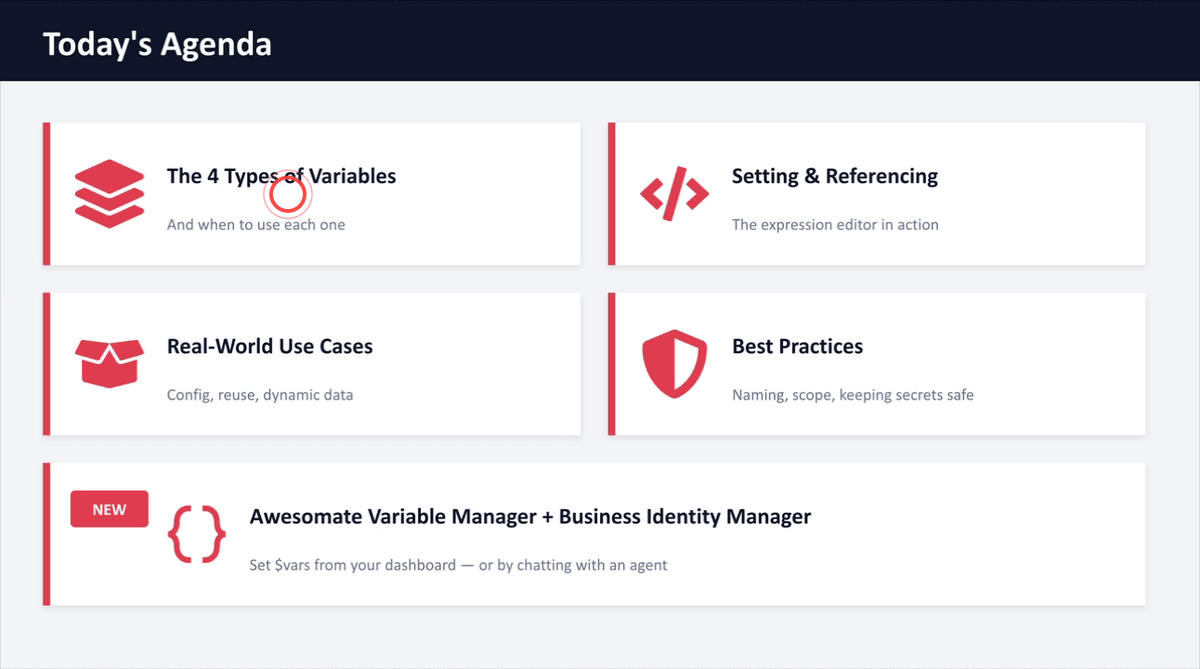
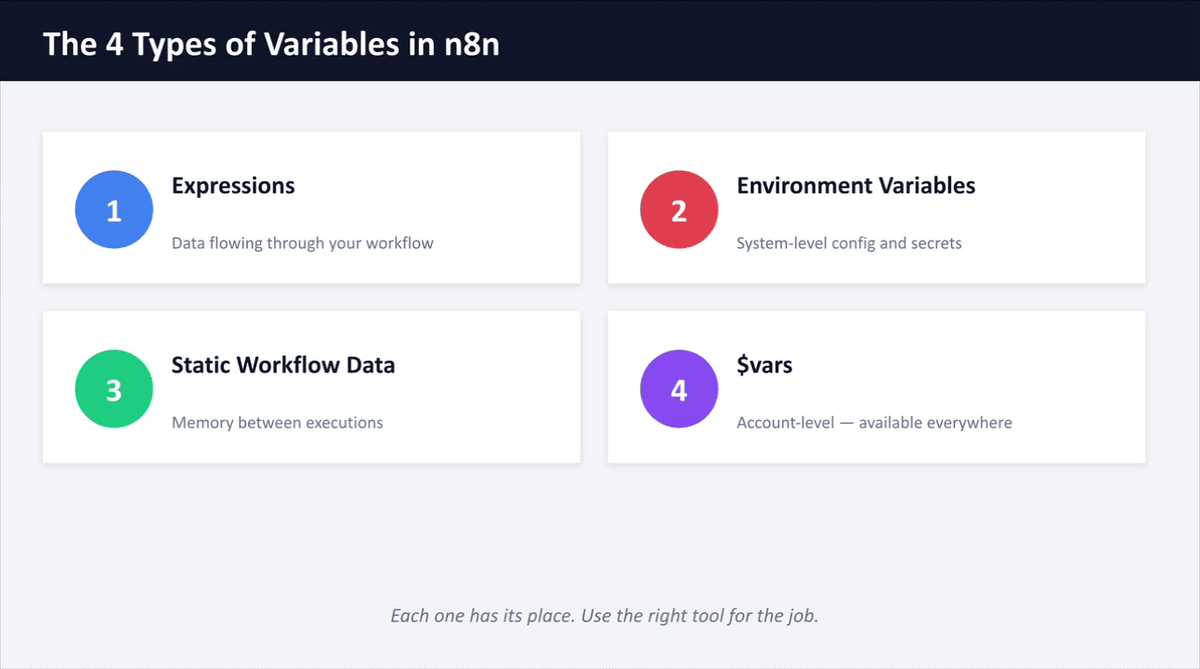
Step 1: Understand the Four Types of Variables in N8N
Before creating or referencing any variables, it helps to understand the four types available in N8N: Expressions, Environment Variables, Static Workflow Data, and Variables. Each type serves a different purpose and lives in a different part of N8N. Most day-to-day work will use Expressions and Variables, but knowing all four means you will always choose the right tool for the job. The sections below walk through each type in turn.
Step 2: Understand What a Variable Is
A variable is best thought of as a labelled box: you store a value inside it once, and then reference that box by name from anywhere in your workflows. When the value inside the box changes, every workflow that references it updates automatically — there is no need to open and edit individual nodes one by one. This is the core reason to use variables instead of typing the same information directly into each node.
Step 3: Reference Data from a Previous Node Using Expressions
Expressions let you pull live data from earlier nodes directly into any field in your workflow. Inside any node field, open the expression editor by typing double curly brackets {{ }}, then use the syntax {{ $node['NodeName'].json.fieldName }} to reference the output of a specific earlier node. You can also perform calculations, format dates, or run JavaScript logic inside an expression. If you are unsure of the correct syntax, you can ask an AI assistant to write the expression for you.
Step 4: Navigate to Variables in Your Awesomate Account
Log into your Awesom8 account and click on the N8N tab in the main navigation. From there, select Settings and then click on Variables. This section is specific to your N8N hosting instance at wrkflw.awesomate.ai and is where you can view, add, edit, copy, or delete account-level variables that automatically sync through to your N8N instance.
Step 5: Review Existing Variables Using snake_case Naming
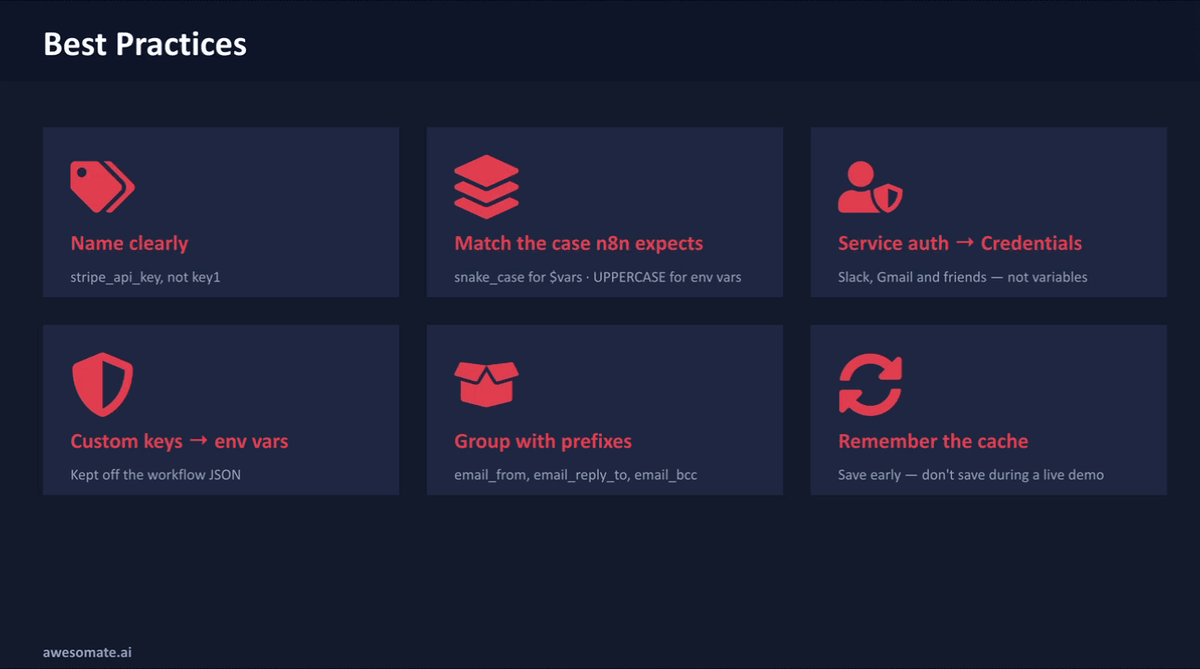
Once you are in the Variables panel, you will see all existing variables listed for your account. Take note of the naming convention in use: all variable names use snake_case, meaning all lowercase letters with underscores between words (for example, biz_country or biz_industry). Always follow this convention when creating new variables, as it ensures consistency across your account and matches the format expected inside N8N.
To manage existing variables:
- Click the pencil icon to edit a variable
- Click the copy icon to copy a variable
- Click the delete icon to remove a variable

Step 6: Add a New Variable in the Awesomate Dashboard
To create a new variable, click the Add New Variable button in the Variables panel. Enter a name for your variable using snake_case (for example, booking_link or brand_colour), then click Create. Once the variable has been created, you can set its value in the field provided.
Please be aware that it can take up to one hour for new or updated variables to propagate through to your N8N instance, so plan accordingly if you need the value available immediately.
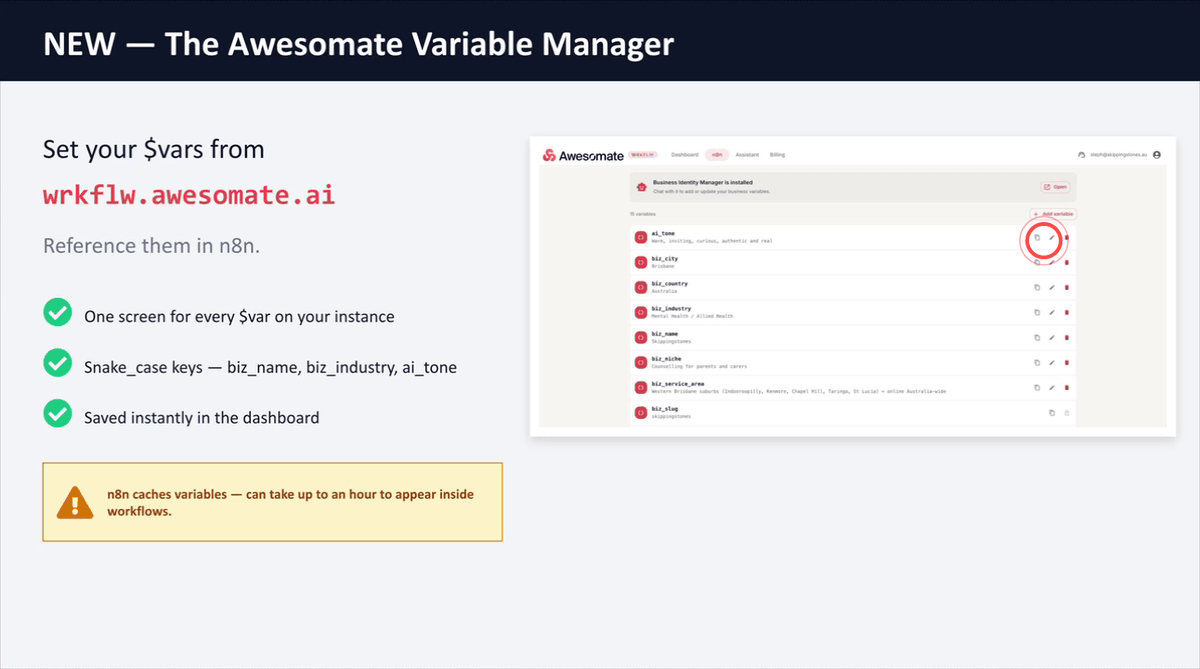
Step 7: Open and Chat with the Business Identity Manager Agent
The Business Identity Manager is an AI agent available inside your Awesomate account that can automatically set up to 48 recommended business variables on your behalf. Navigate to the Variables section of your Awesomate account and locate the Business Identity Manager — if it is not yet installed, click the Install button that appears in its place.
Once open, type a message such as "Hi, what variables need to be set?" and the agent will identify any missing variables, guide you through providing the required information, and then set them in your account automatically.
Step 8: Find the Variables Section Inside Your N8N Account
You can also view your variables directly inside N8N. From the N8N home screen, look for the Variables section in the left-hand navigation panel. If you have not yet created any workflows and the Variables section is not visible, click the plus (+) icon, then select Credential — this will take you to a screen where the Variables list is accessible. Any variables you have set or synced from your Awesom8 dashboard will appear here.
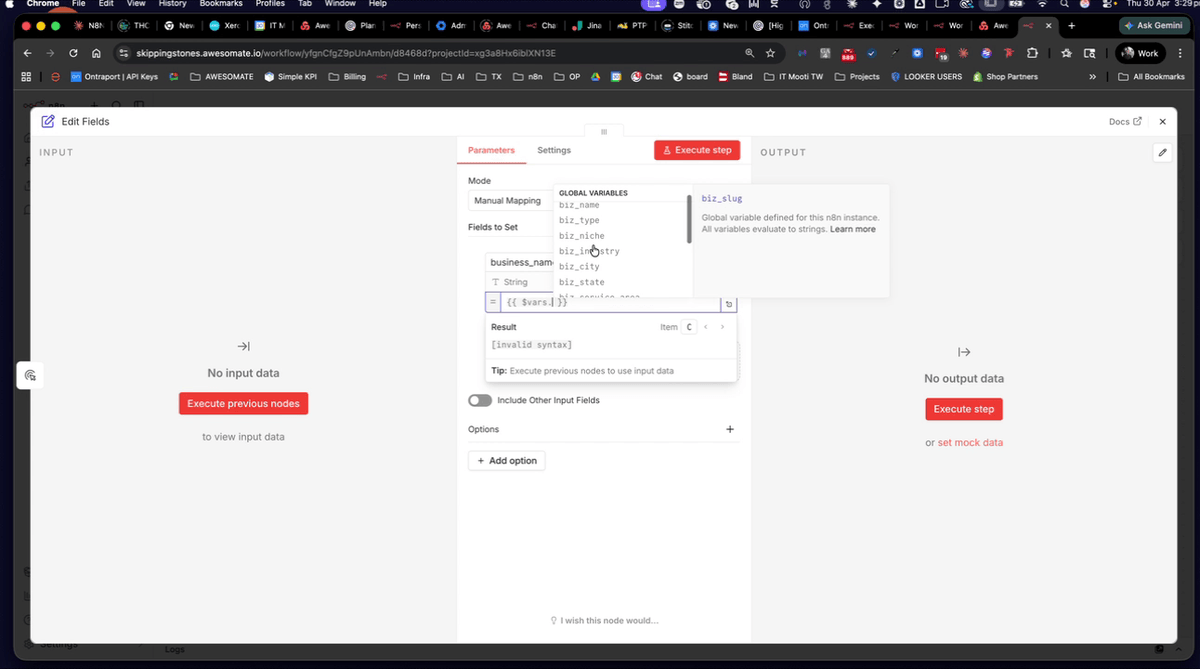
Step 9: Reference a Variable Inside a Workflow Node
To use a variable inside any workflow node, click into the field you want to populate and open the expression editor by typing {{ }}. Then type $vars. followed by the variable name — for example, {{ $vars.biz_name }}. As you type, a list of available global variables will appear and you can scroll through to select the one you need. Once selected, the resolved value will display as a preview directly in the editor, confirming the variable is linked correctly.
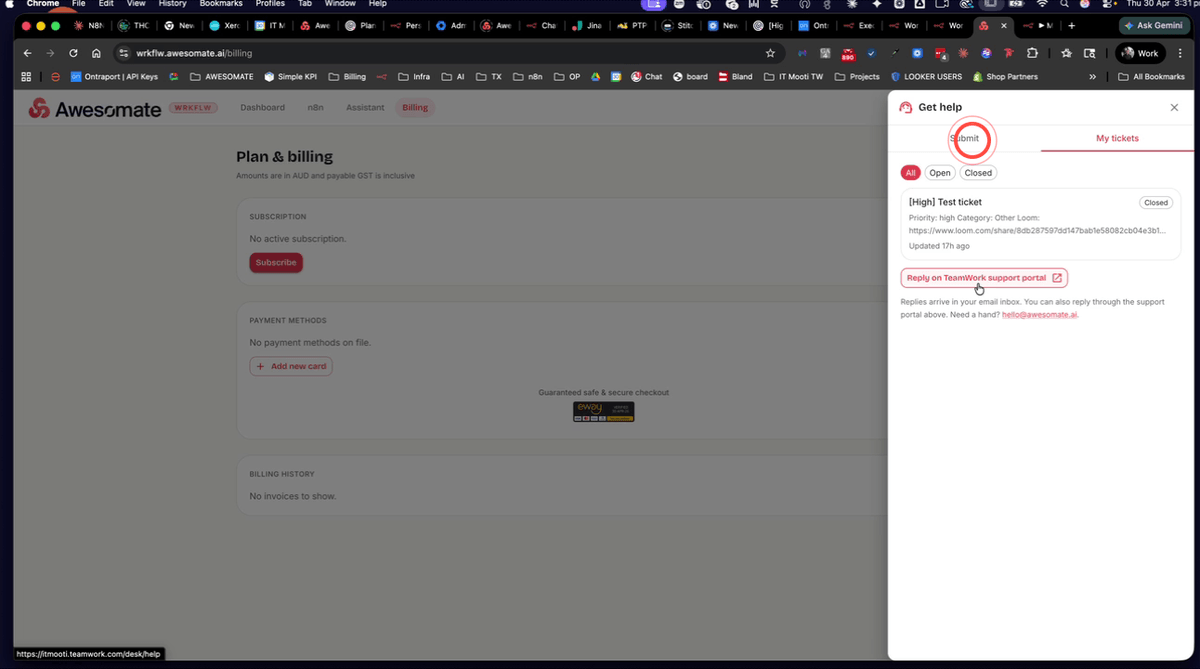
Step 10: Submit a Support Request via the Get Help Icon
If you run into any issues, you can submit a support request directly from within your Awesom8 account. On any screen, click the Get Help icon to open the support request form. Please note the following plan requirements before submitting:
- Essentials plan: Support is available for hosting-related questions (for example, account access, instance configuration).
- Support Plus plan: Required for workflow-specific help, including fixing or building agents, creating workflows, and resolving errors inside N8N.
If you need to upgrade your plan, navigate to the Billing section of your Awesom8 account where an upgrade option is available. You can also view and reply to existing support tickets from within your account, or respond via email or through the Teamwork support portal.
Troubleshooting
My variable is not appearing in N8N after I created it in Awesom8
Variables can take up to one hour to propagate from your Awesom8 dashboard into your N8N instance. Wait at least 60 minutes after creating or updating a variable before testing it inside a workflow. If it still does not appear after an hour, try refreshing your N8N session.
I cannot see the Variables section in the N8N left-hand navigation
This typically occurs when no workflows have been created yet in your account. As a workaround, click the plus (+) icon in N8N, then select Credential — this will navigate you to a screen where the Variables list is visible.
My expression is returning an error or showing no value
Check that the variable name in your expression exactly matches the name set in your Awesomate Variables panel, including correct snake_case spelling. Also confirm that the variable has a value saved against it — a variable with an empty value will return a blank result rather than an error. If you are referencing a previous node, ensure that node has actually run and produced output before the current node executes.
Need Help?
Contact us at hello@awesomate.ai or raise a ticket in your Teamwork Desk portal.