
This guide walks you through setting up an AI-powered chatbot for your business website that answers customer questions using your own documents and knowledge base. It is designed for business owners and administrators using N8N, Google Drive, Pinecone, and Google AI Studio.
Prerequisites
- Copy the workflow from here and paste it into a new workflow
- An N8N account (sign up via Awesom8 if you do not have one)
- An OpenRouter account with a connected credential in N8N
- A Google account with Google Drive access and Google credentials configured in N8N
- A Google AI Studio account to generate a Gemini API key
- A Pinecone account (free tier is sufficient to get started)
- The N8N workflow file provided at the top of the associated webinar page
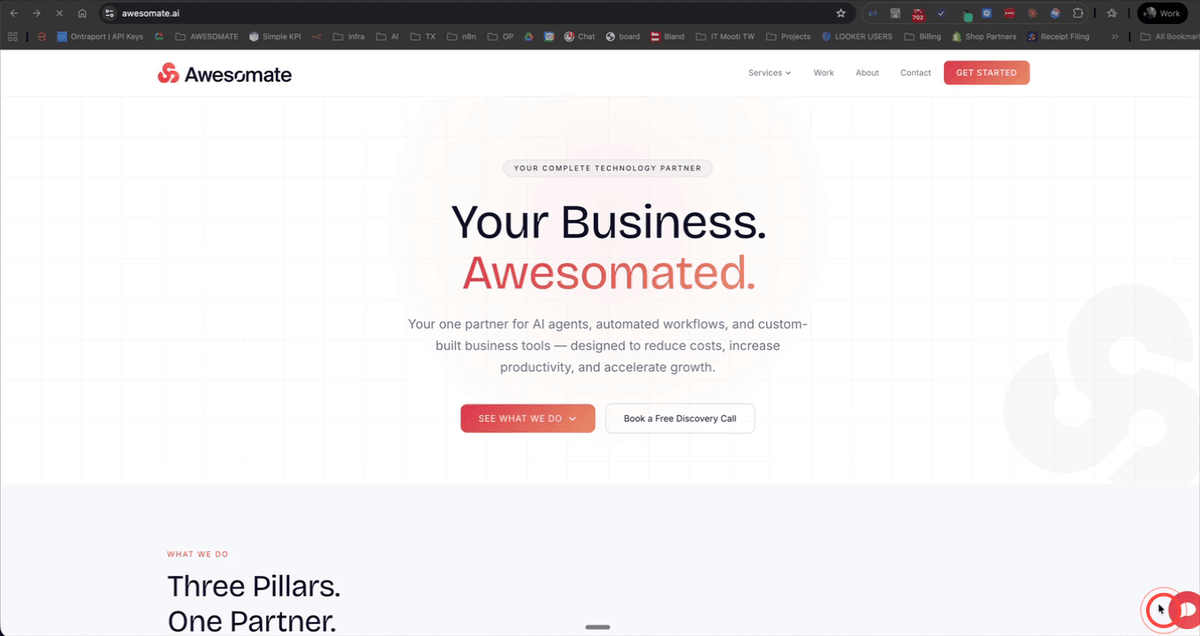
Step 1: Preview the Finished Chatbot on Your Website
Before building, it helps to understand what you are working towards. The end result is a chat button embedded on your website that opens an AI assistant interface. Visitors can click the button and ask questions about your business, and the chatbot will respond using your actual business knowledge — such as pricing, availability, and services. This gives your customers accurate, relevant answers without you needing to be available around the clock.
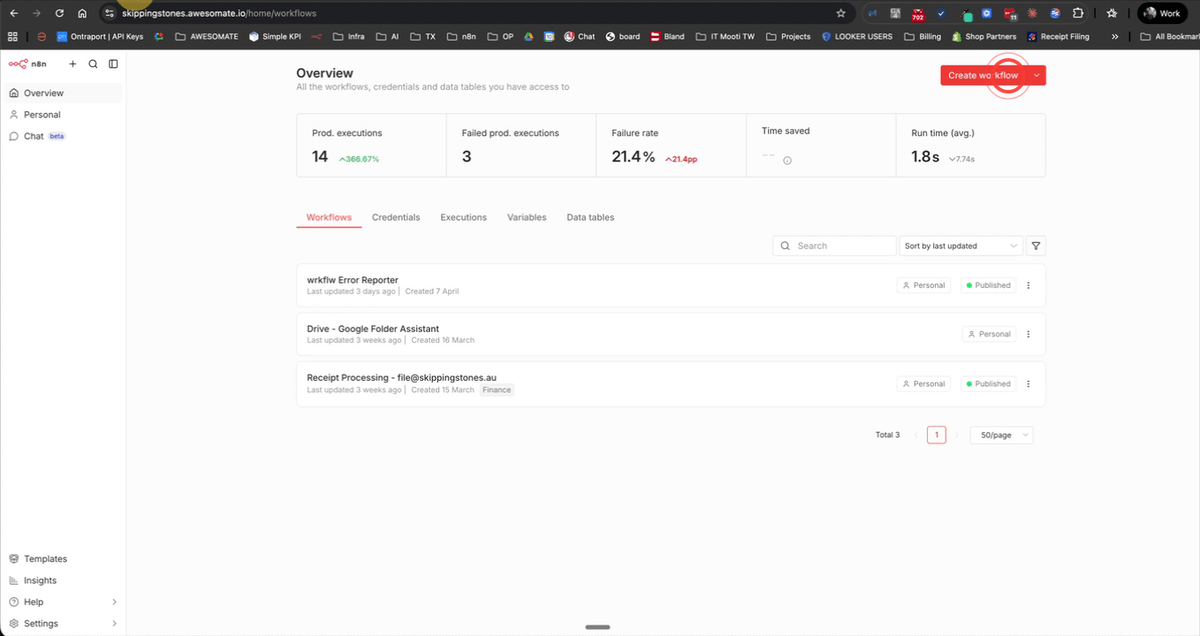
Step 2: Sign Up for an N8N Account and Open a New Workflow
Log in to your N8N account and navigate to the Overview page. Click Plus then Workflow to create a new workflow. Download the workflow file linked at the top of the webinar, then import it into N8N by clicking Import from File — or, if you have the JSON copied to your clipboard, simply paste it directly onto the canvas. The full workflow will appear and you can pan around to explore it.
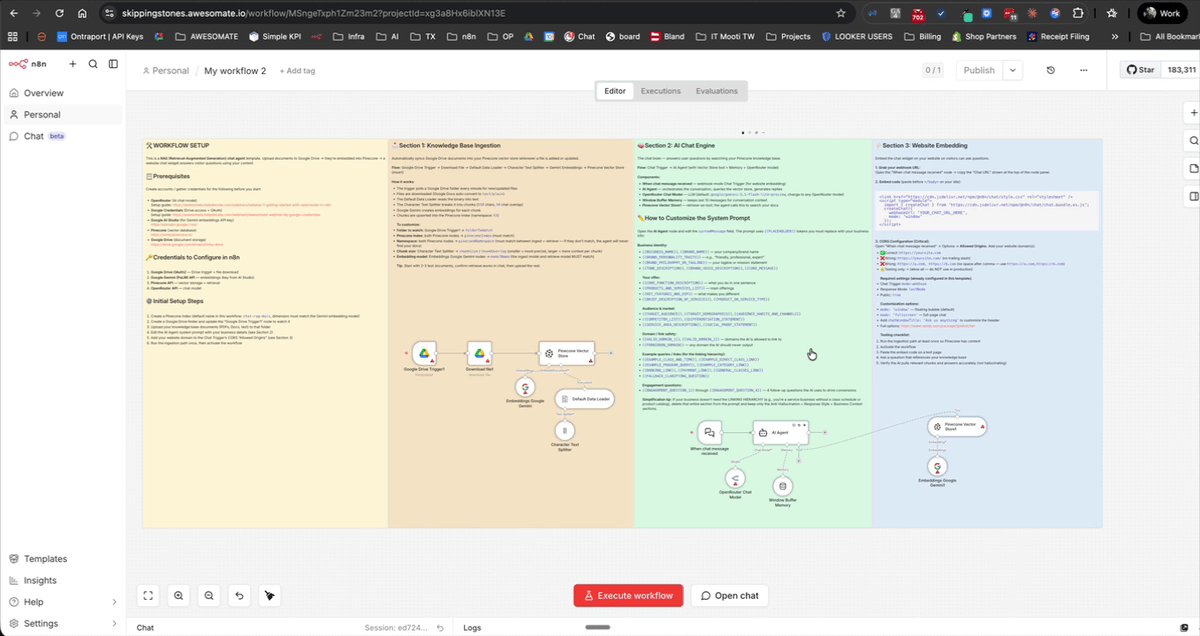
Step 3: Review the Workflow Prerequisites and Sticky Note Instructions
Once the workflow is imported, pan to the left-hand yellow sticky note on the canvas. This note lists all the prerequisites and setup steps you need to complete before the workflow will run correctly. The prerequisites include: an OpenRouter credential, Google credentials, a Google AI Studio Gemini API key for embeddings, and a Pinecone account. Work through each of these in the steps below.
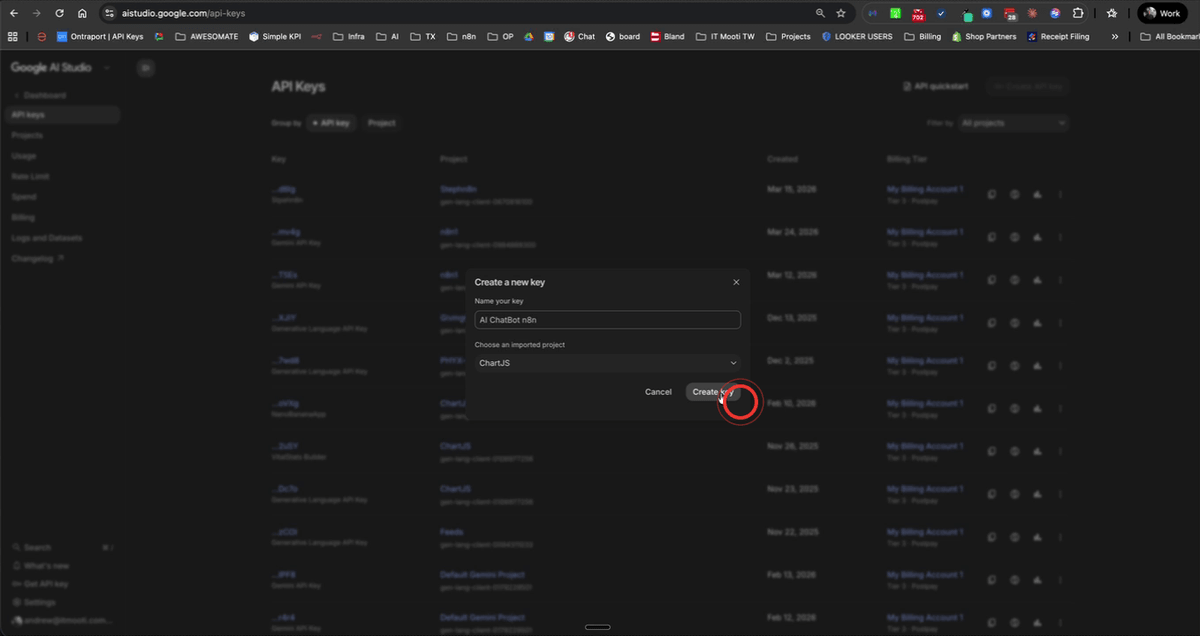
Step 4: Create a Google AI Studio API Key
Go to Google AI Studio (aistudio.google.com) and sign in with your Google account. Scroll to the bottom of the page and click Get API Key, then click Create an API Key. Give it a descriptive name such as AI Chatbot N8N and click Create Key. Once the key is generated, copy it — you will need it in the next step.
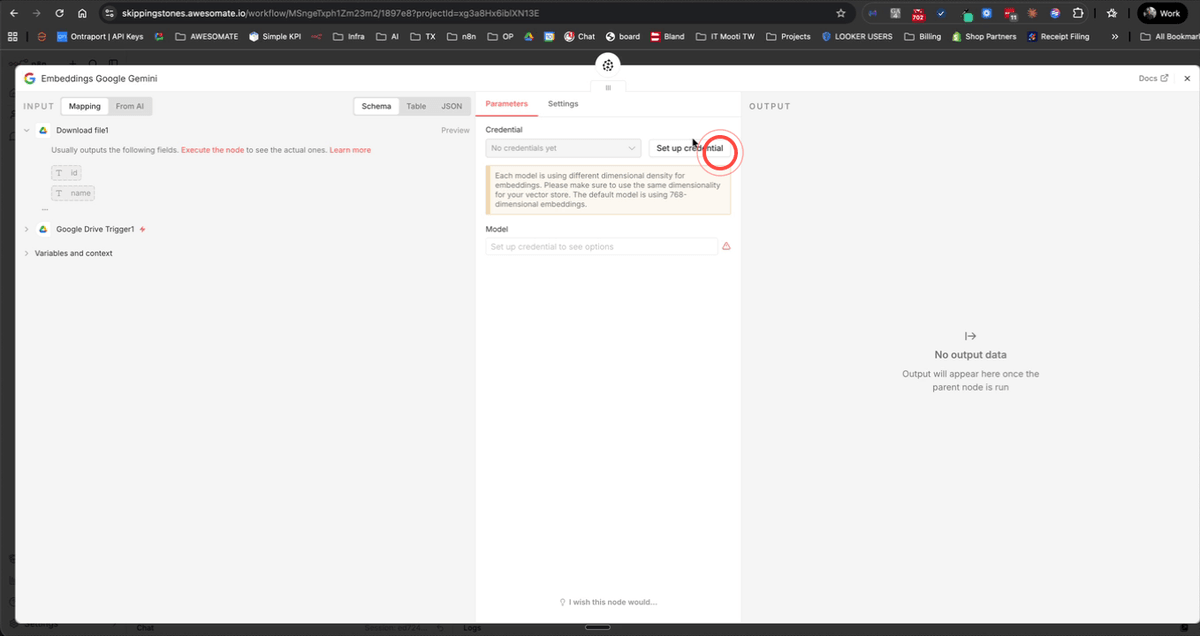
Step 5: Add the Gemini API Key to the Embeddings Google Gemini Node
Return to your N8N workflow and locate the Embeddings Google Gemini node. Open it and click Set Up Credential. Paste the API key you copied from Google AI Studio and click Save. Once saved, confirm that the model is set to Gemini Embedding 2 Preview — switch the model selector if needed to ensure the correct model is selected.
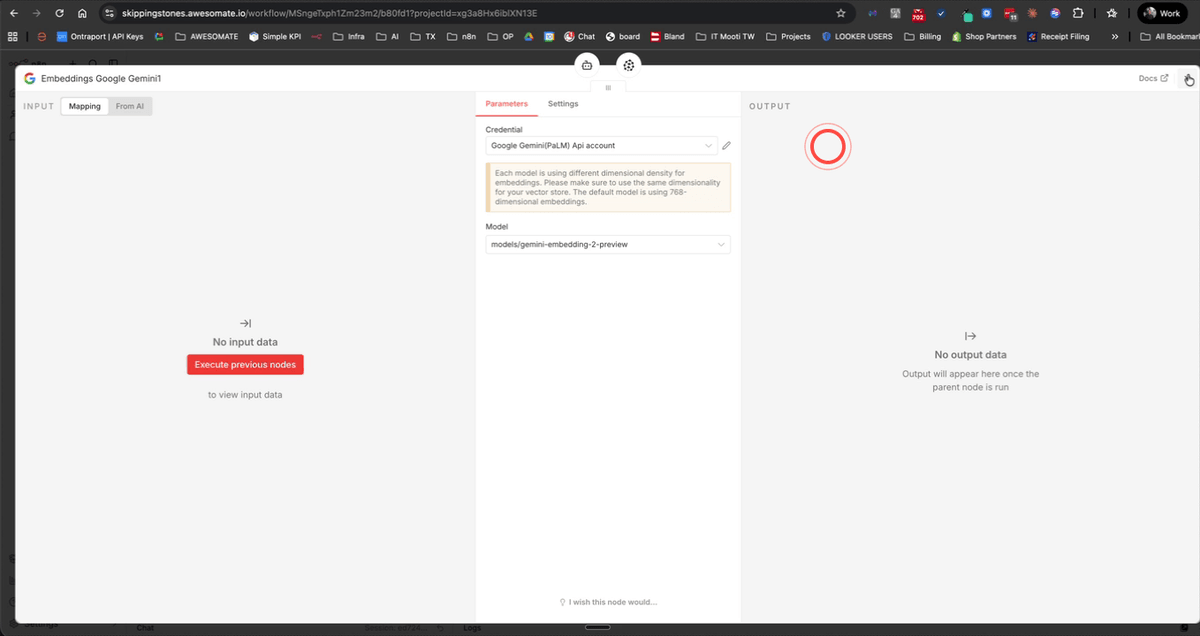
Step 6: Set the Gemini Embedding Credential in the Blue Section Node
Scroll across the canvas to the blue section of the workflow and locate the second Embeddings node. Open it and apply the same Google Gemini credential you just created. Confirm that this node is also set to Gemini Embedding 2 Preview. Both embedding nodes must use the same credential and model to ensure consistent results.
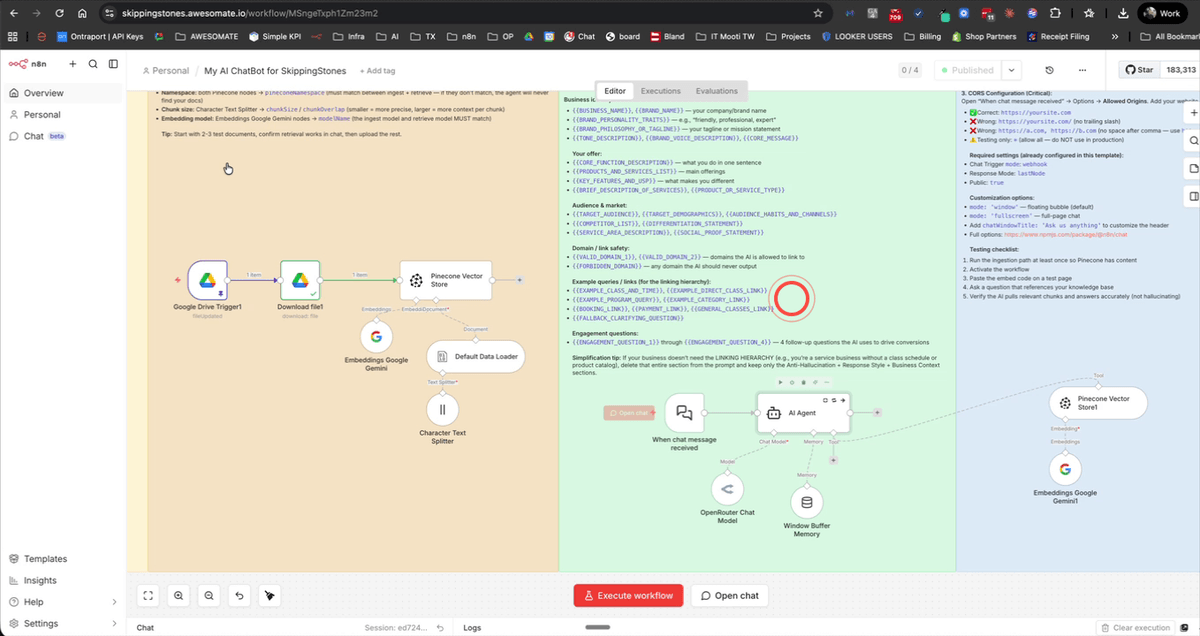
Step 7: Create a Google Drive Folder for Your Chatbot Documents
Open Google Drive and click New, then Folder. Give the folder a clear name such as AIChatbot4YourBusinessName (replacing "YourBusinessName" with your actual business name) and click Create. This folder will act as the source for all documents that get loaded into your Pinecone knowledge base, so keep it organised and only include relevant business content.
Step 8: Add Your Business Documents to the Google Drive Folder
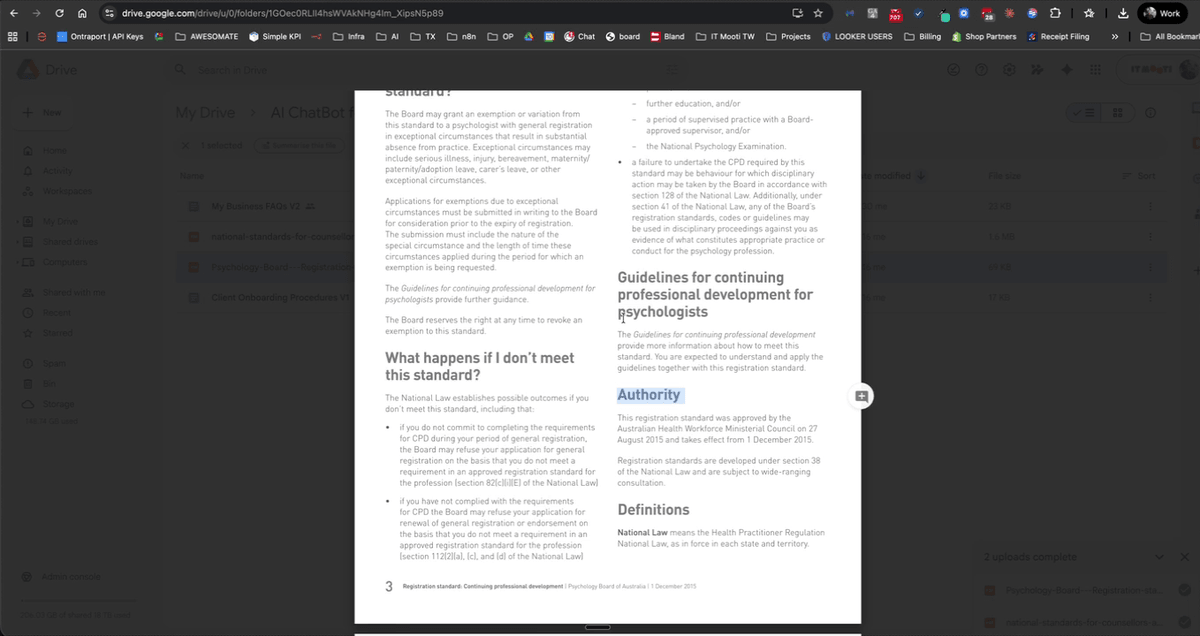
Open the folder you just created and add your business documents. These can be Google Docs or PDFs and should contain information your customers are likely to ask about — for example, FAQs, service descriptions, pricing, onboarding procedures, or policies. The more thorough and accurate your documents are, the better your chatbot will perform. Note that the workflow currently extracts text content from documents, so image-heavy PDFs may not be fully processed.
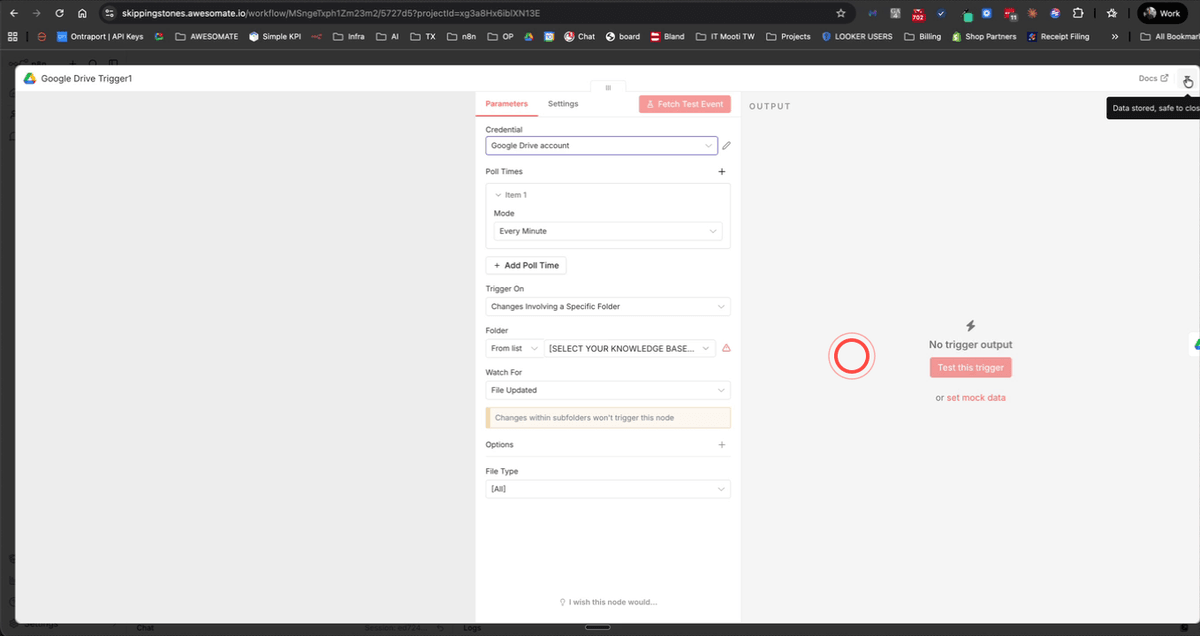
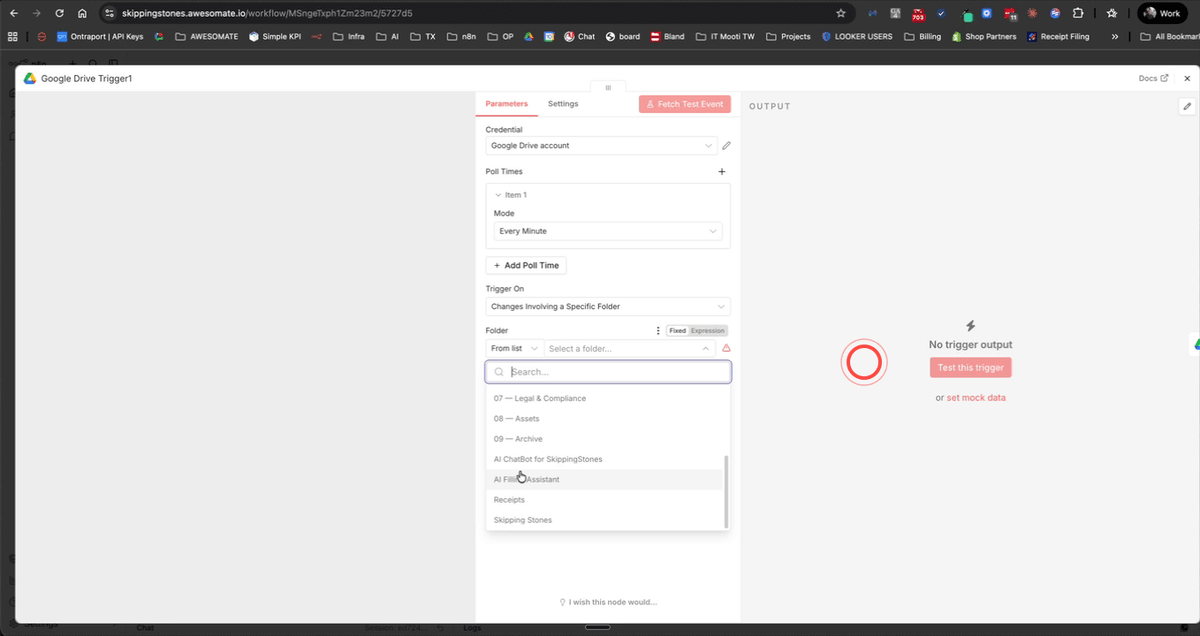
Step 9: Connect the Google Drive Trigger Node to Your Folder
Back in N8N, open the Google Drive Trigger node and select your Google Drive account from the credential dropdown. Under the folder selector, choose From the list and select the folder you just created. Leave the polling time set to every minute — this means N8N will check for new or updated files in that folder every minute and automatically trigger the ingestion workflow.
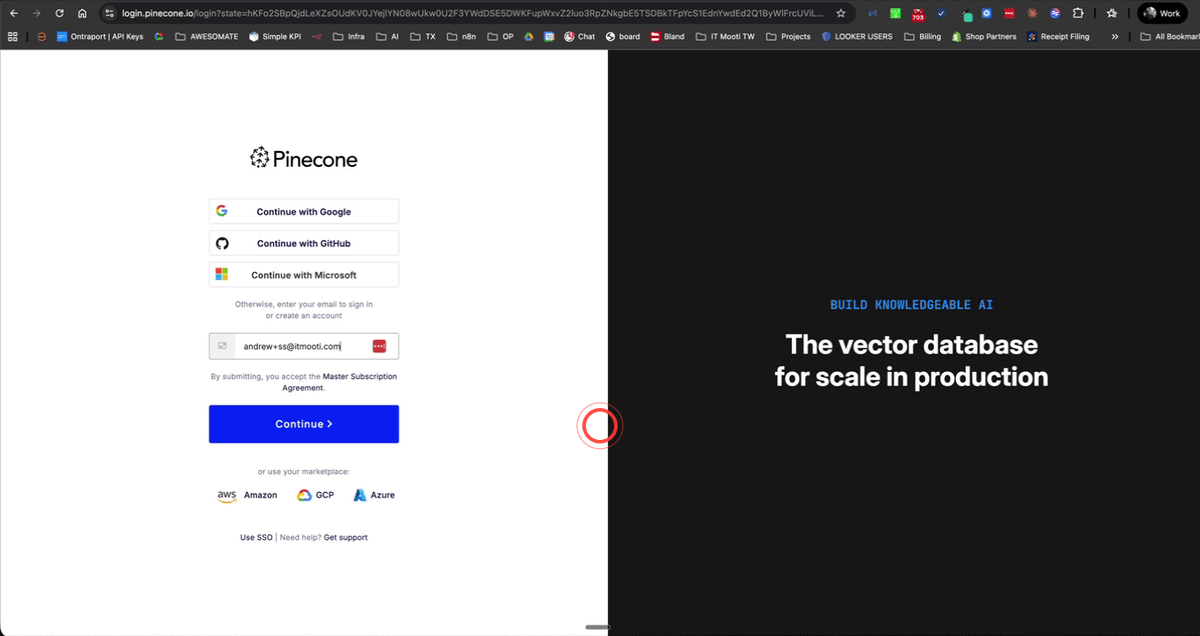
Step 10: Sign Up for Pinecone and Copy Your API Key
Go to pinecone.io and sign up for a free account — you can use your Google account to speed up the process. Once you have completed the onboarding steps, Pinecone may display a generated API key on screen; if so, click Copy to save it. If you do not see it immediately, navigate to the API Keys section in the left-hand sidebar to create and copy a new key. Keep this key handy for the next step.
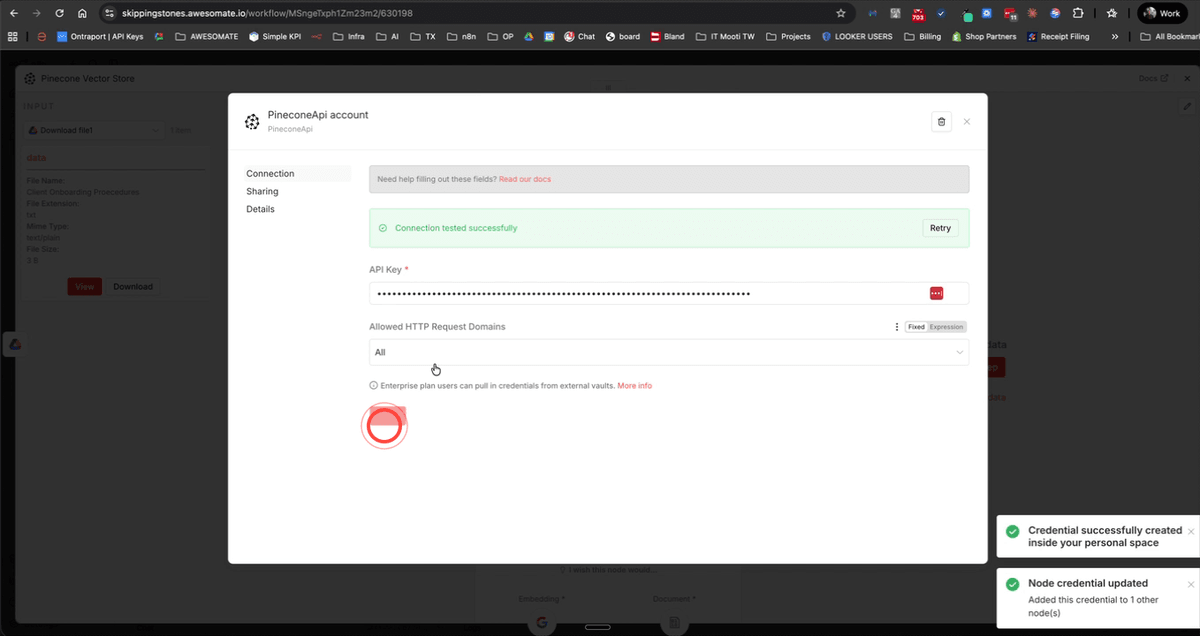
Step 11: Add the Pinecone API Key Credential in N8N
Return to your N8N workflow and scroll to the Pinecone Vector Store node. Open it and click Set Up Credential. Paste your Pinecone API key into the field provided and click Save. You should see a confirmation that the credential has been connected successfully before moving on.
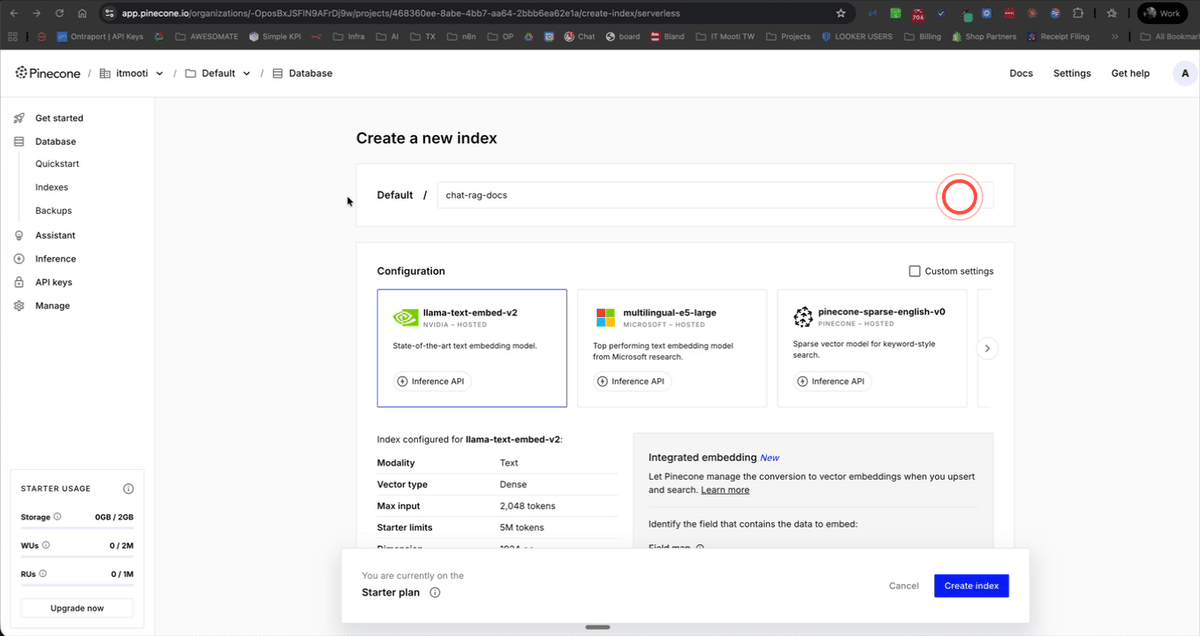
Step 12: Create a Pinecone Index Named ChatRagDocs
In the Pinecone dashboard, click Database in the left-hand sidebar, then click Create Index. Name the index ChatRagDocs (this name is referenced in the workflow, so it is important to use it exactly). Click Custom Settings and set the dimensions value to 3072 — this matches the output size of the Gemini Embedding 2 Preview model. Leave all other settings as default and use the free AWS starter plan to avoid any upfront costs.
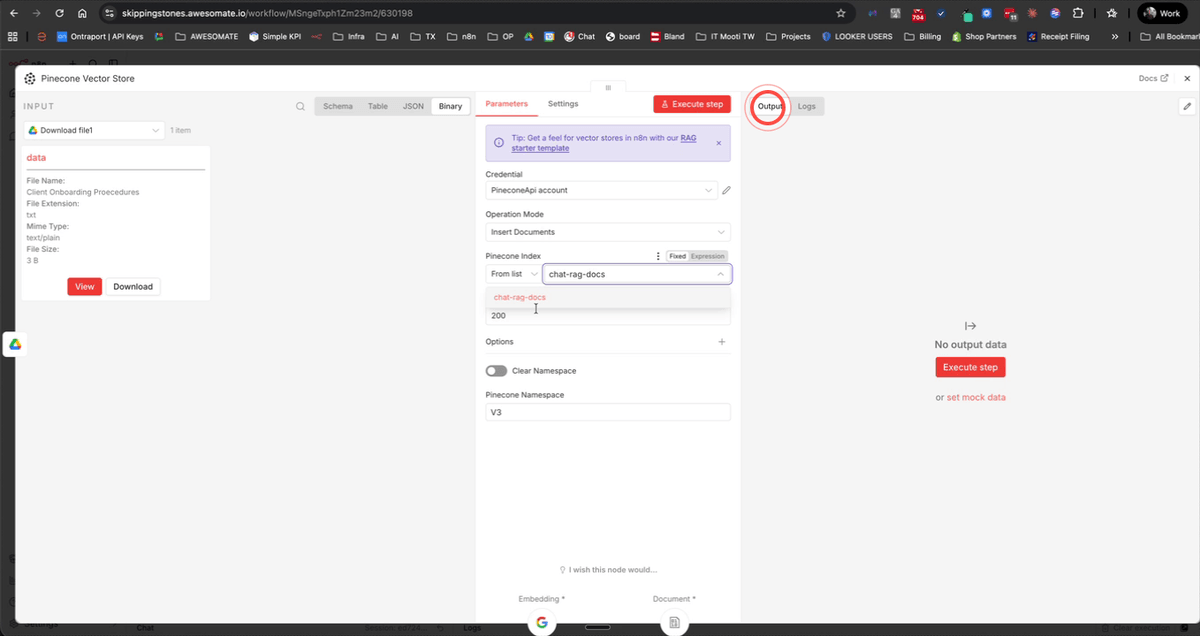
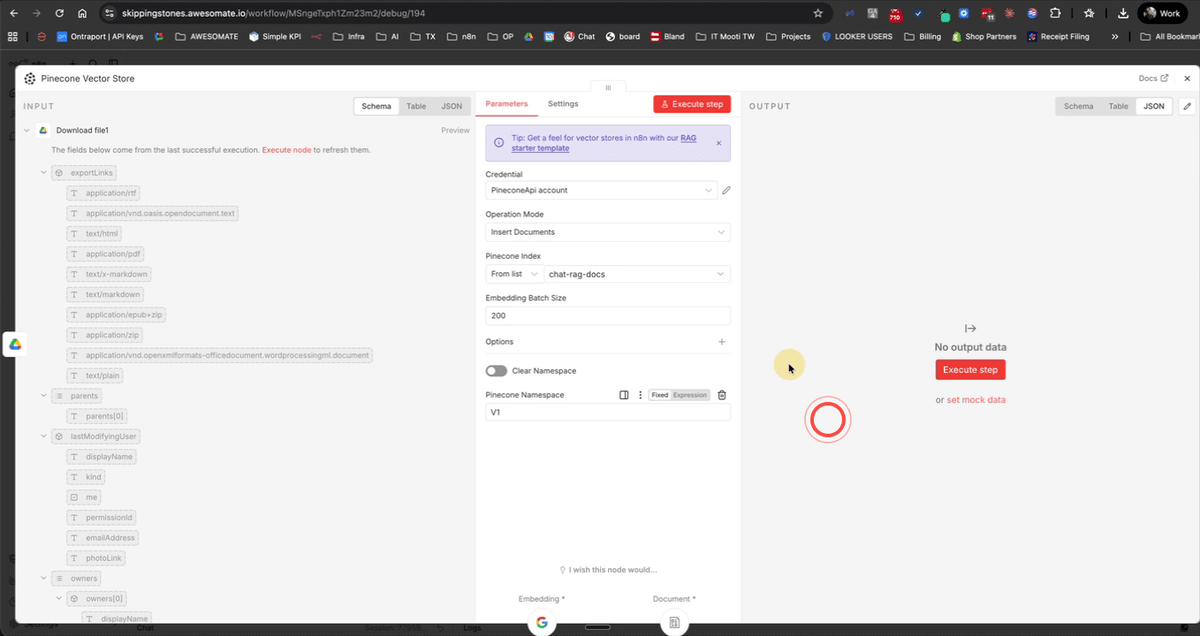
Step 13: Configure the Pinecone Vector Store Node Settings
Open the Pinecone Vector Store node in N8N and select your ChatRagDocs index from the dropdown list (click Refresh List if it does not appear immediately). Set the namespace to V1 — think of this as a version label for your knowledge base. Leave the batch size at 200. If you have multiple documents to ingest, make sure the Clear Namespace toggle is turned off, so each document is added to the database rather than replacing the previous one.
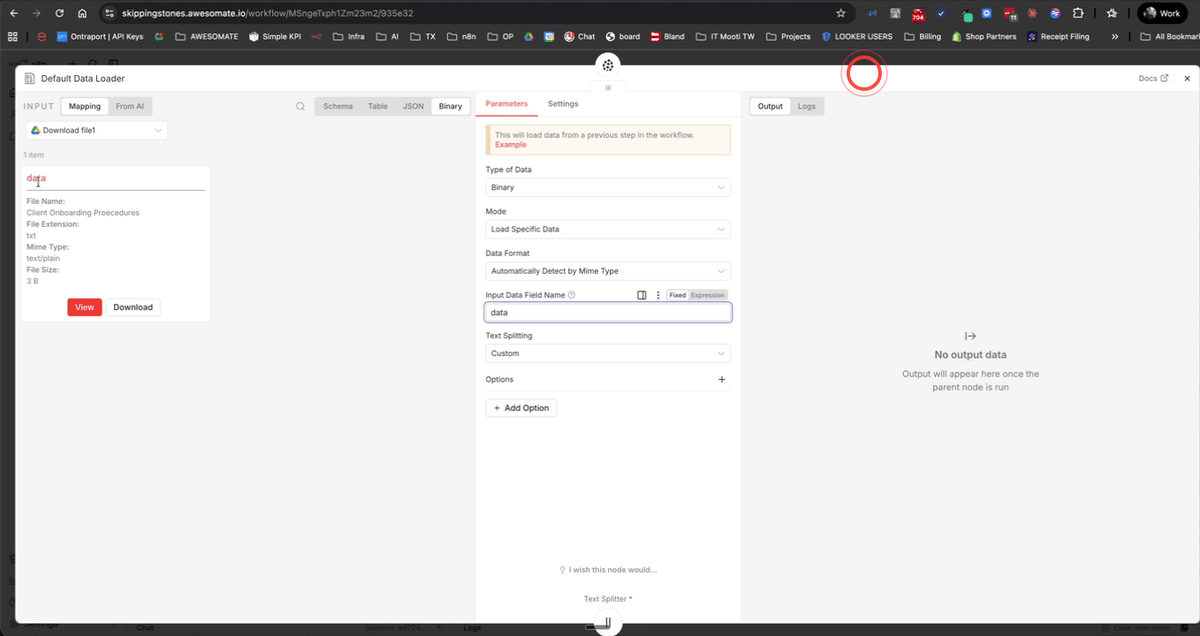
Step 14: Verify the Default Data Loader Node Settings
Open the Default Data Loader node and check the following settings are correct: Binary should be selected as the input type, file type detection should be set to Automatic, and Text Splitting should be set to Custom with a chunk size of 550 and an overlap of 50. These settings control how your documents are broken into smaller pieces before being sent to the embeddings model — the defaults provided are well-suited for most business documents.
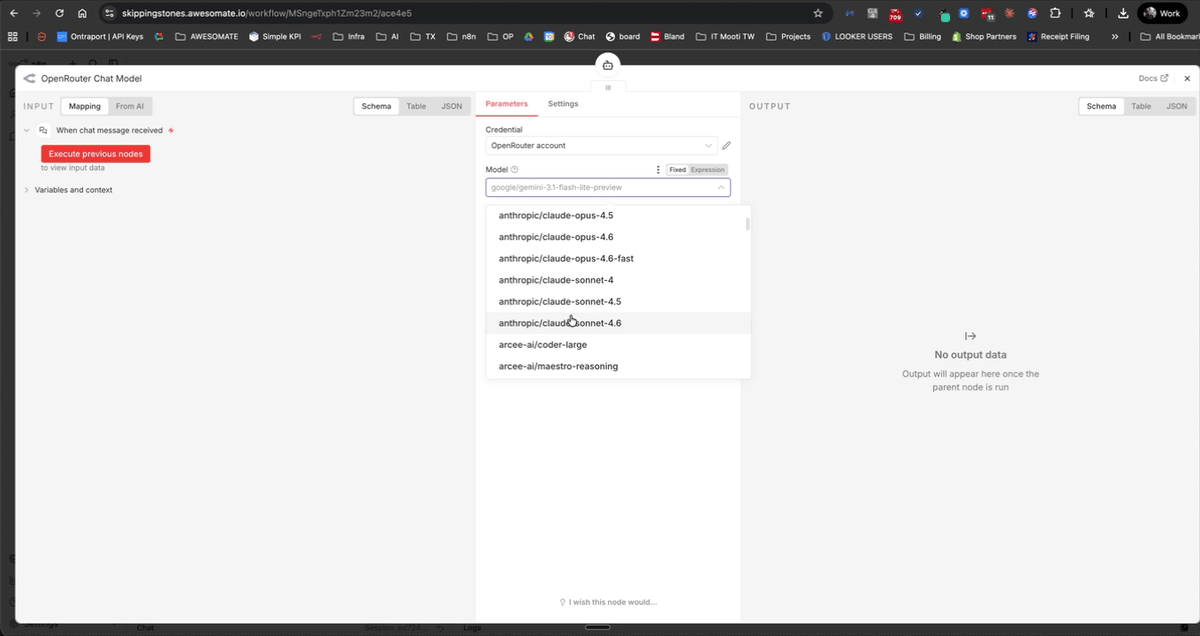
Step 15: Connect OpenRouter and Publish the Ingestion Workflow
Locate the OpenRouter node in the workflow, open it, and select your OpenRouter credential. Choose the AI model you would like to use — for example, Claude Sonnet is a reliable choice for this type of task. Once the model is selected, click Publish at the top of the N8N editor to activate the workflow. From this point on, the workflow will automatically run whenever files are added or updated in your Google Drive folder.
Step 16: Trigger Document Ingestion by Updating Your Drive Files
Because the Google Drive trigger listens for file updates, you need to make a minor change to each document to kick off the ingestion process. The easiest way to do this is to rename each file — for example, add V1 to the end of each document name. Once you have updated all your files, the N8N polling trigger will detect the changes within a minute and begin processing each document into Pinecone.

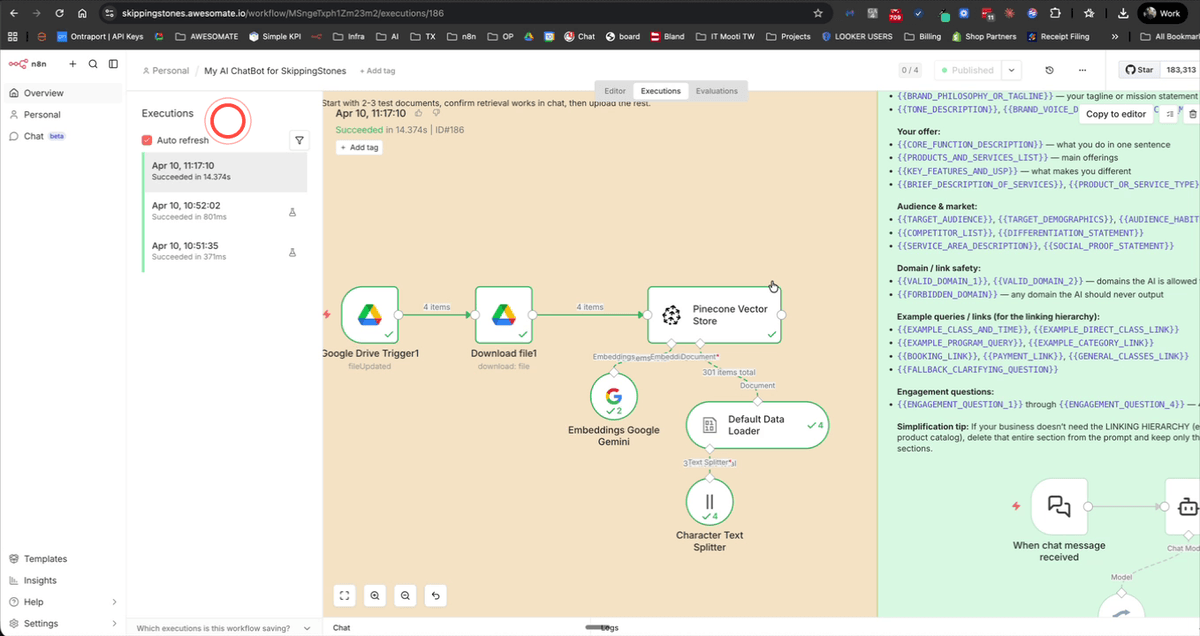
Step 17: Confirm Successful Ingestion in the Executions Log
In N8N, click the Executions tab to view the workflow run history. Look for a recent execution with a Succeeded status. Click into it to see the details — you should see your documents retrieved from Google Drive, Google embeddings created, and a count of records loaded into Pinecone (for example, 301 items). If the execution shows an error, refer to the Troubleshooting section below.
Step 18: Verify Records Appear in Your Pinecone Index
Switch to the Pinecone dashboard and open your ChatRagDocs index. Click Refresh if the record count has not updated yet. You should now see the ingested vector records listed, with the total count matching what was shown in the N8N execution log. This confirms your knowledge base has been successfully populated and is ready for the chatbot to query.
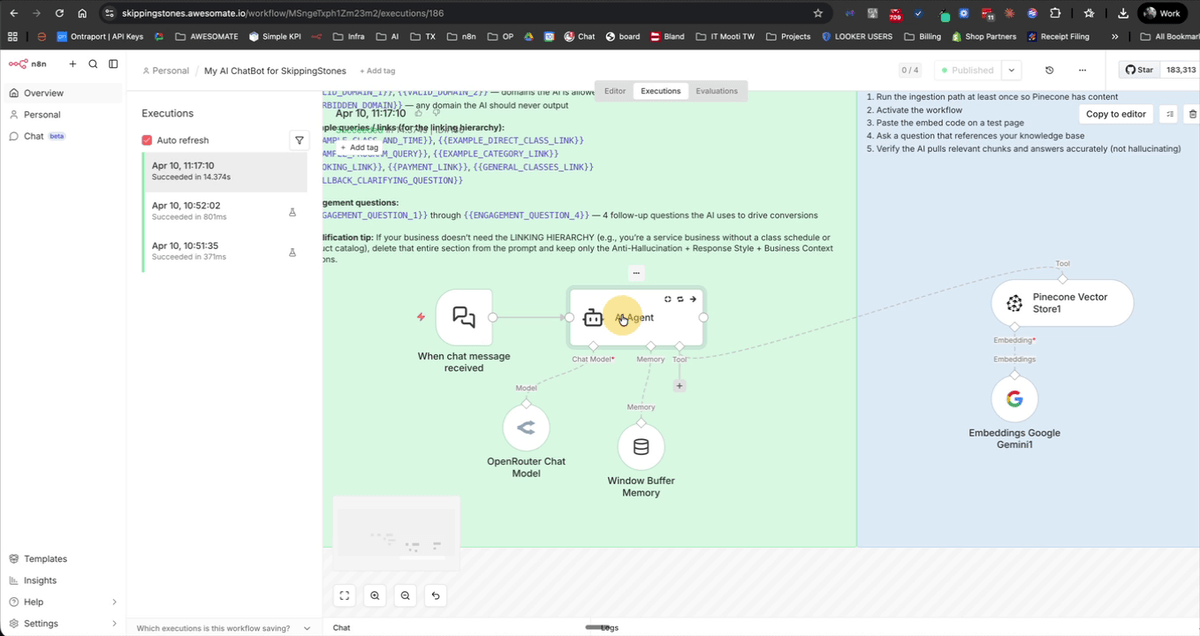
Step 19: Customise the AI Agent System Prompt with Your Business Details
Open the AI Agent node in the green section of the workflow. Click the expand button at the bottom of the system prompt field to view the full prompt. You will see placeholder merge fields for your business name, domain, and other details — replace each of these with your actual business information. Alternatively, if you have access to the Business Blueprint AI agent in your N8N account, you can use it to automatically generate a tailored system prompt based on your business summary, then paste the result into this field.
Step 20: Match the Pinecone Namespace in Both the Ingestion and Retrieval Nodes
This is a critical step. Open the Pinecone Vector Store node used for ingestion and note the namespace value (e.g. V1). Then locate the Pinecone Vector Store node inside the AI agent (used for retrieval) and confirm it uses the exact same namespace. If these two values do not match, the chatbot will be unable to find any results from your knowledge base. Once confirmed, save and publish the workflow.
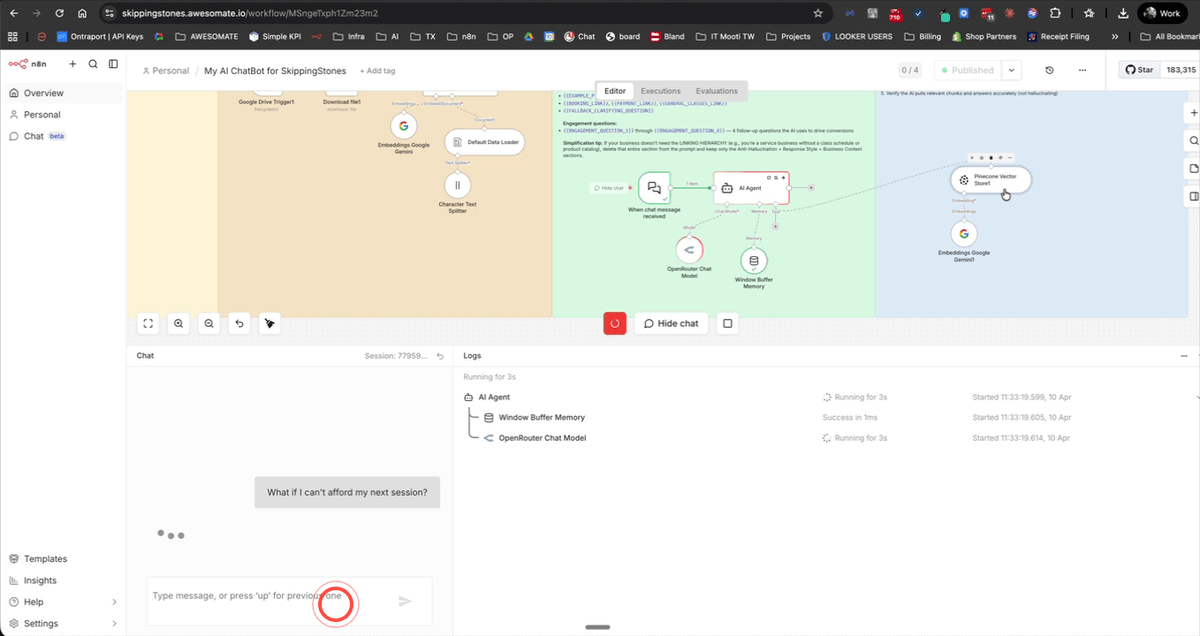
Step 21: Test the Chatbot Using the N8N Chat Panel
Click the Chat button at the bottom of the N8N workflow editor to open the built-in test chat panel. Type a question that relates to the content in your uploaded documents — for example, a question from your FAQ document. The AI agent should retrieve the relevant information from Pinecone and respond with an accurate, knowledge-base-grounded answer. Test a few different questions, including ones that are completely unrelated to your business, to confirm the chatbot responds appropriately in all cases.
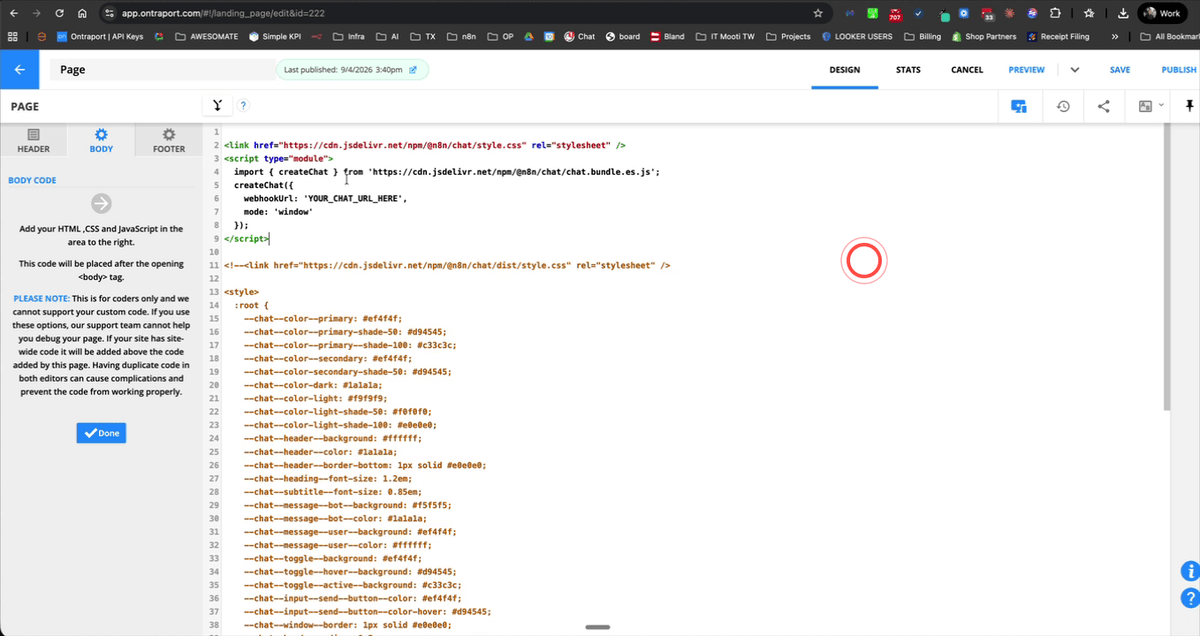
Step 22: Copy the Embed Code and Chat URL from the Chat Trigger Node
Scroll to the blue section of the workflow and open the Chat Trigger node. You will see two important pieces of information here: the embed code snippet (a block of HTML/JavaScript) and the Chat URL displayed at the top of the node. Copy the embed code first, then copy the Chat URL separately. You will need both of these to add the chatbot to your website. Make sure the chat is set to publicly available and the Embedded Chat option is enabled.
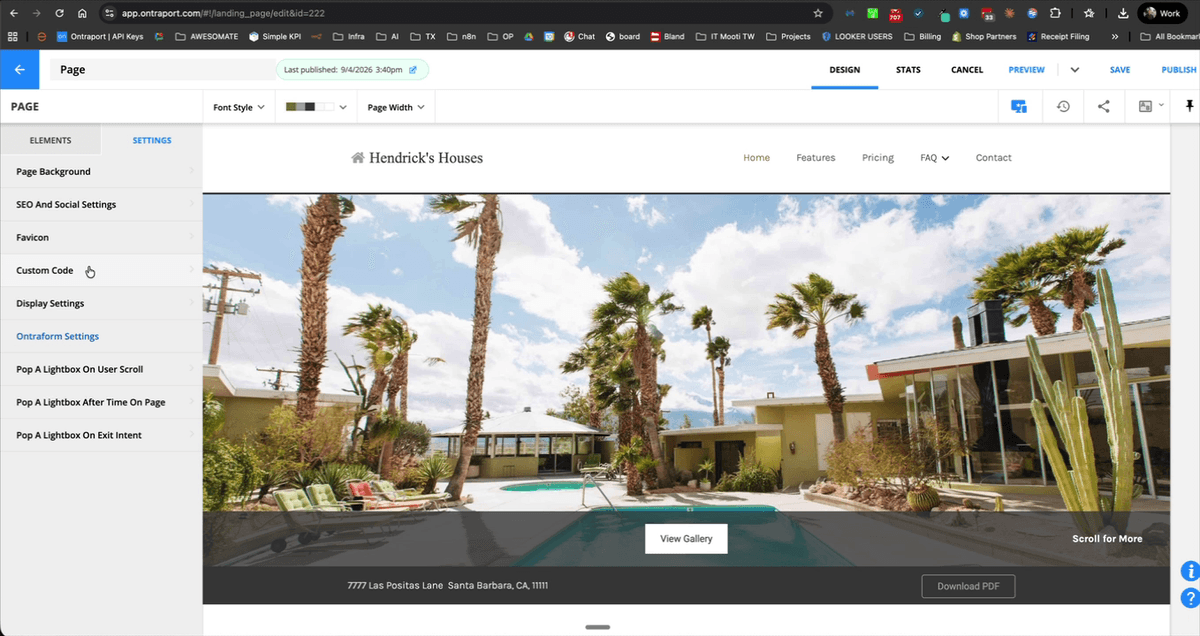
Step 23: Paste the Embed Code and Chat URL into Your Website
Go to your website builder (such as Ontraport, WordPress, or similar) and navigate to the page where you want the chatbot to appear. Add a Custom Code or HTML block to the body of the page and paste in the embed code you copied from N8N. Inside the embed code, locate the placeholder webhook URL and replace it with the Chat URL you copied from the Chat Trigger node. Save and publish the page to make the chatbot live.
Step 24: Customise the Chatbot Appearance Using the N8N Chat npm Documentation
To change the look and feel of the chatbot widget to match your brand, visit npmjs.com/package/@n8n/chat. This page contains all available styling and configuration options for the N8N chat embed. Copy the documentation content and paste it into an AI tool (such as Claude or ChatGPT), then ask it to help you modify your embed code to match your brand colours, fonts, and layout preferences. Once you have the updated code, replace the existing embed code on your website and republish the page.
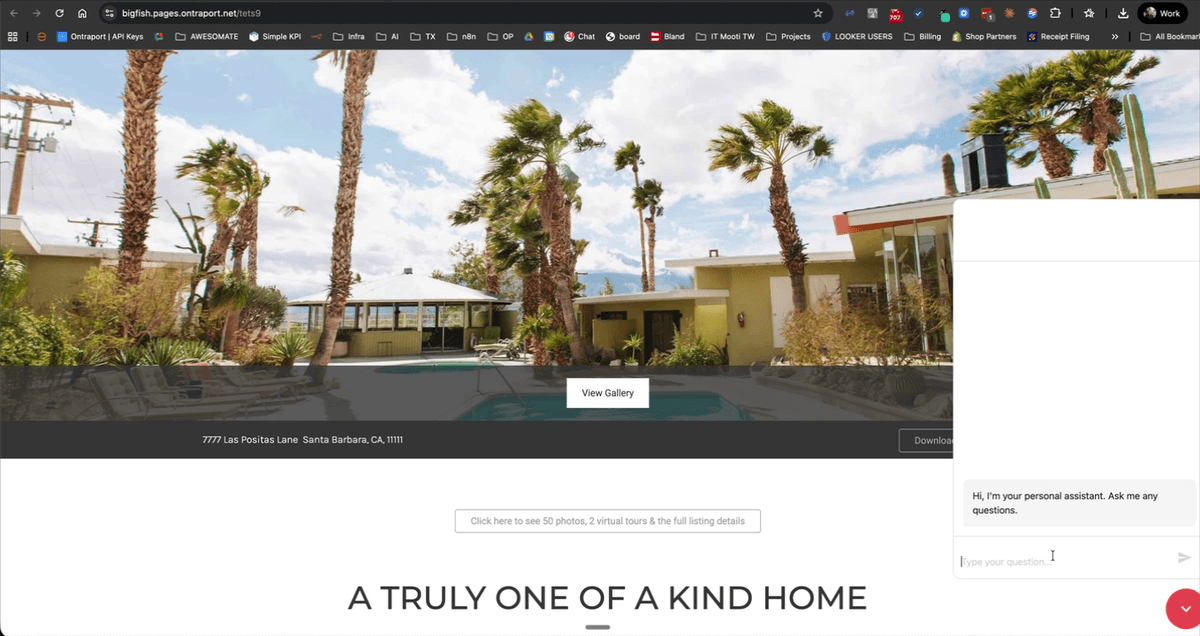
Step 25: Verify the Styled Chatbot on the Live Website
Refresh your published website page and confirm the chatbot widget appears with your updated custom styling. Click the chat button to open the interface and send a test question to verify it responds correctly in the live environment. Check that the responses are accurate and that the chatbot handles both relevant and irrelevant questions appropriately before promoting it to your customers.
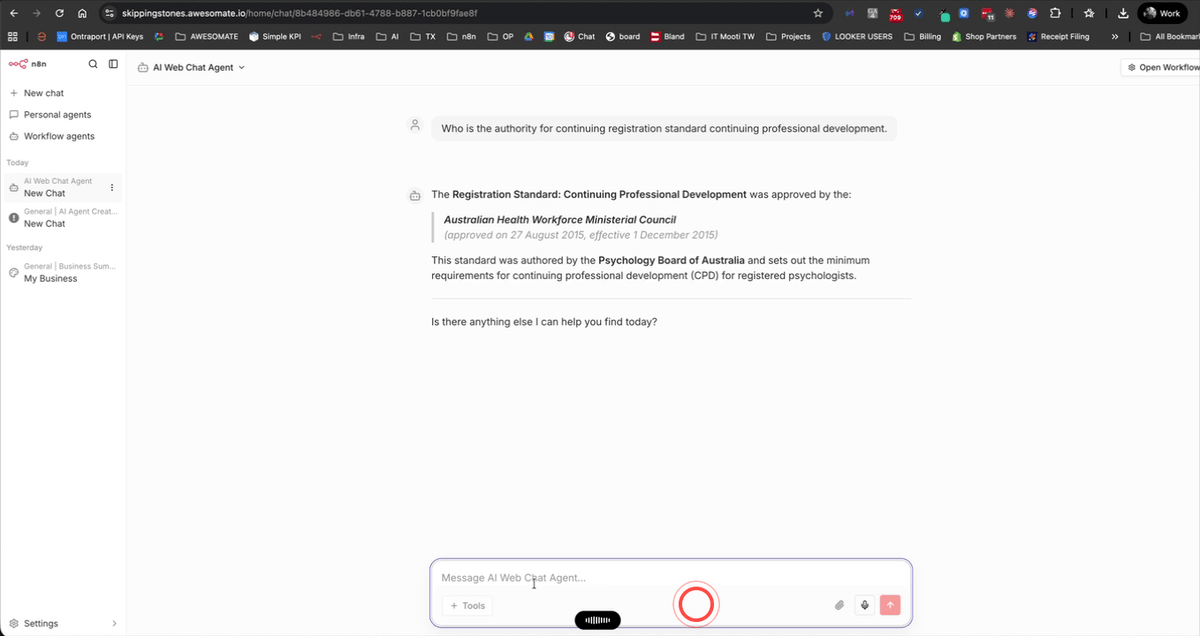
Step 26: Access and Test the Chatbot from the N8N Chat Hub
In addition to testing on your website, you can also interact with your chatbot directly inside N8N. Click Chat in the left-hand navigation menu, then go to Workflow Agents and select your AI Web Chat Agent. This interface is useful for ongoing testing and quality checks — for example, you can ask questions that reference specific content from your uploaded PDFs to confirm the retrieval is working as expected. Conduct thorough testing here before directing customers to the live chatbot.
Troubleshooting
- The chatbot is not retrieving any results from my documents.The most common cause is a mismatched Pinecone namespace. Check that the namespace value (e.g. V1) is identical in both the ingestion Pinecone Vector Store node and the retrieval Pinecone Vector Store node inside the AI agent. Even a small difference such as an extra space or different capitalisation will prevent results from being found.
- The ingestion workflow is not triggering when I update my files.Make sure the workflow has been published (not just saved). The Google Drive trigger only runs when the workflow is active. If it is published and still not triggering, try making a visible change to a file — such as renaming it or adding a character — to force an update event. Also confirm that the correct Google Drive folder has been selected in the trigger node.
- The Pinecone index is not appearing in the dropdown list in N8N.Click the Refresh List button inside the Pinecone Vector Store node. If the index still does not appear, double-check that your Pinecone API key credential has been saved correctly and that the index was created in the same Pinecone project associated with that API key. Also confirm the index name is spelled exactly as ChatRagDocs with no extra spaces.
Need Help?
Contact us at hello@awesomate.ai